So even though I love to decorate and share ideas with you all, there are certain aspects of it that I still find difficult. (Difficult in the scope of putting pretty things around my house, not difficult in the scope of life. 😉) I've told you before I struggle with decorating bookshelves and the tops of things ...like dressers or consoles. So once I get something the way I like it, I rarely change it up.
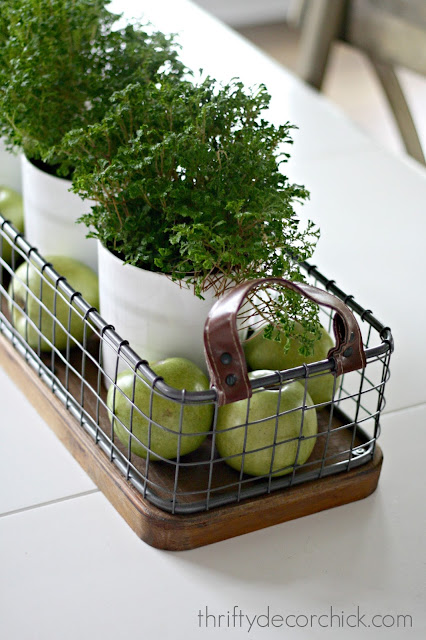
I've had a wood bowl with faux apples on our kitchen table for years now but have been keeping my eye out for something new. When I saw this metal and wood basket at the Hob Lob last week, I loved it and stood there holding it in my hands trying to decide how I would use it:
Since I purged our home for the last time a last year, I make a point to figure out exactly how I will use a decorative piece before I buy it. Before, I would see something I loved/on sale and would buy it thinking I'd find a spot for it. That stuff started filling our house! I buy a lot less now and am much better about what I bring into the house. It's made a big difference!
I loved the look of this basket (and it was half off!) so like I said...I stood there staring into space in the middle of the aisle trying to think of how I could use it. Took me a few minutes, but I got there. ;)
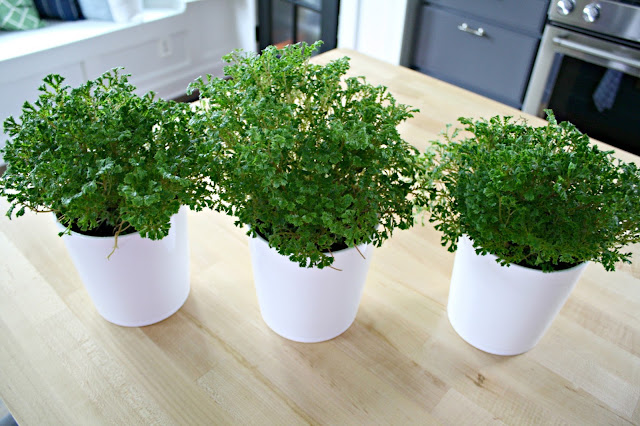
I gathered some planters and then bought one of the only plants we can have around with cats -- any type of fern will do fine:
They never touch these (I have them in other spots in the house) but I always do a search on my phone before I buy a new plant. I actually got one plant and broke it up into the three pots -- this is usually cheaper than buying multiples.
I've had these faux applies for years and I really wish I could remember where I got them. I'm thinking it was at the decor firm I worked for ten years ago but I'm not sure. They are SO realistic and are heavy too -- they legit feel and feel like real apples. I love using them in our kitchen because of that:
I found some online and they look pretty realistic too!
I just placed the plants inside and then the apples around. It's super simple but I love it:
I LOVE those leather handles on the basket!
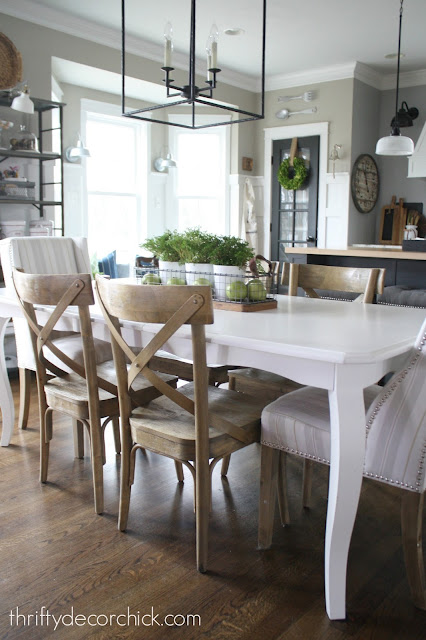
I was adjusting the light fixture and thought this was a pretty shot. 😊
It feels fresh and pretty for spring and will work well into the summer. It's an easy piece to change up for the fall and holidays too!
I thought some pansies would be adorable and would add some lovely color too -- but those are great to have around cats so I went with the green. You could easily do that or another potted plant like hyacinth as well. So cute.
I think table centerpieces are HARD. I was just talking with a friend about that other day. You want it to be big enough to make a statement, but not too big that it will take up space on the table. I love flowers, but then you have to keep up with fresh flowers all the time. I also love the way taller items like candles look, but then I feel like you can't see the people sitting across from you. See? Hard. :)
This is simple and that's why I love it:
Of course you can take any tray or basket and change it up with what you have. Anything goes! Real fruit would work too -- I like keeping it out so we remember to eat it! :)
Do you have any simple centerpiece decorating ideas? Feel free to share in the comments -- I love seeing what people add to their tables. It's one of those areas that always stumps me! Does this part of decorating come easy for you?
Affiliate links included for your convenience!


Comments
Post a Comment