
Fabric and Pillow Cover Sale!

Hey all! Hope your weekend was wonderful! We were out of town this weekend for a quick trip to NYC and it was a much needed break. We had a blast!

As I mentioned last week, I've been busy working on purging our whole house. It's a process I thought would maybe take a few weeks and it's been spread over about seven months. :) I'm working on the craft room now because it will be torn apart in about a week when we have the new floors installed in there. Whoohoo!

I have so many cute fabrics that I've used (and some I haven't used) that I don't need anymore. There's something about fabric -- I just hate to give it away, especially when I've shared some of these with you over the years. So as I've done in the past, I'm listing them for sale here for some of you to enjoy. 

If you are interested in any of these fabrics or pillow covers here is the process: 

1. Email me (thriftydecorchick (at) gmail (dot) com) with the name I put under the fabric as your subject line. If there are more than one available please let me know how many you would like. I will send you my Paypal email so you can send your payment. 
2. I will need payment within two hours of my response or the item will be passed to the next person. 
3. All costs include shipping and handling. 
4. Continental USA only
5. I will note here when an item has sold. If you don't hear back from me right away come back here to check the status.
6. All final sale 
7. I will ship these out this week -- it will most likely be next week before you receive them. 

If a pillow cover is listed please do not expect perfection as I sewed most of these myself (unless noted). :) All but one will need to be sewn up after you fill them. They looked great in our house so I think they will be wonderful in yours. All measurements are inches. 

I LOVE this fabric and have held onto it for years but just don't know where I will ever use it: 
aGray alphabet print fabric
SOLD!

The following were euro covers I made for our bed years ago: 
Using drapery fabric for pillows

DIY euro pillows
SOLD!

This is leftover fabric that would be perfect for pillows (these were actually made from drapery fabric so I did not include the rod pocket in my measurements): 
Draperies as pillow fabric
SOLD!

I used a suit, linen-like fabric for our DIY tufted headboard
DIY tufted headboard

I have enough left for a couple pillows: 
Linen fabric for headboard
SOLD!

This large pillow cover is the only store bought one in the list and includes a zipper. It was either from Target or Pottery Barn, I can't remember: 
Brown pillow with red and gold
SOLD!

I used this fabric to make pillows for our family room years ago:
Blue and red floral print
SOLD!

It is a lumbar style -- here it is with the insert:  
How to sew a pillow

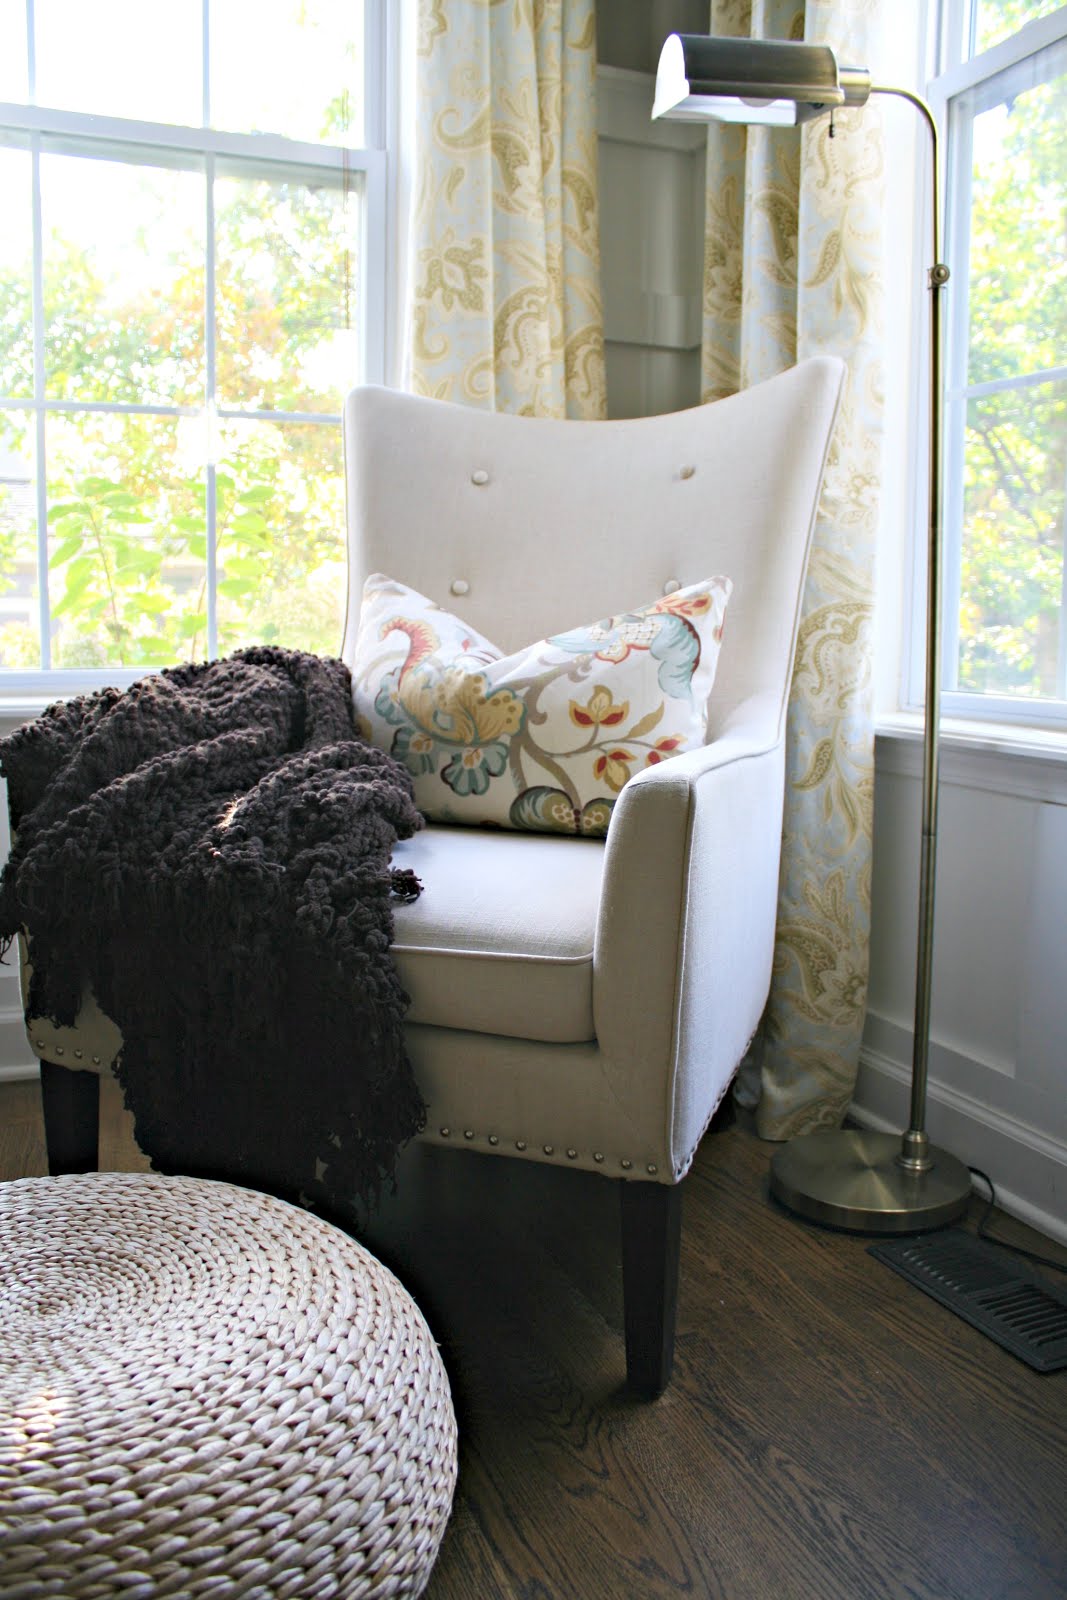
This yellow print is so fun, I just don't use a lot of yellow: 
Yellow lattice print
SOLD!

This IKEA stripe is no longer available -- I used it to make a small pillow for our boy's room
Boys airplane room

I have enough to make a small lumbar pillow or combine it with something else to make a larger one: 
IKEA stripe fabric
SOLD!

As I've mentioned once or 50 times, I love to make pillows from napkins. I love this print but didn't buy enough at the time. These are West Elm napkins and the pattern is a more of a tan than what it looks here (with white): 
DIY napkin pillows    
SOLD!

This cover was made with Pottery Barn napkins (by me). I shared how I make Pottery Barn pillows for less here
Pottery Barn pillows for less
SOLD!

There you go! If you are interested in any of these please let me know! I will update this list so check in if you are interested in any of them. I linked to all of the projects I did with these fabrics where applicable.

Have you made any napkin pillows lately? ;)


Comments

Popular posts from this blog

My favorite recent projects and posts!

Well hello! Hope you have a wonderful weekend planned! I'm back with another round up of posts from the past few months today. I used to do this monthly but I don't remember to do it most of the time -- so now you get them in batches of two or three months. ;) It's always nice to look back and what I've accomplished around here and it may show you something you've missed! I finished up our loft makeover at the end of the summer -- I shared how I made the giant chalkboard for this space: This is a room that's meant for the whole family so I wanted to make it a fun space. We created a Disney art wall that we'll add to over time. We are going back to Disney World soon and I can't wait to add new memories to this wall!: You can see how we made that Disney pin art in that post as well!  I showed you how I made the large desk with butcher block and how I finished it here :  I also shared my new favorite sanding technique in that post -- it is a SUPER cool tr...

DIY Decorative Wood Box

Hey there all! Hope you have had a great week and have an even better weekend planned! I'm back today to share a popular post from years ago with a little updated info.  This is a perfect example of buying vs. doing it yourself. I LOVE to DIY but there are definitely times I just want to buy an item. Believe me, I say do what you want (Cartman!) -- if it makes you happy to do it yourself, go for it. If you have the money and have no desire to DIY, buy the sucker.  I will say doing it yourself is usually cheaper. This is a good example. I was at Home Depot this week picking up flooring for the basement (more on that soon) and came across this fun new section:  I had to laugh because they are selling pallets now! I actually think this is quite brilliant. None of them are full sized pallets, just half, but still, it's a smart move on their part. It just made me laugh because you can get them for free some places. (Please check with a business before taking pallets though --...

DIY snowy holiday candles (from the dollar store!)

Hey there all! Again, thank you so much for your kind comments on our fireplace makeover and Christmas home tour I shared last week! I have a fun and easy little holiday craft for you today. 😊These are nothing new but I've always wanted to try making them.  I gathered some votive holders from the dollar store -- they're actually a great, big size:  I used mod podge and brushed it on -- I'm guessing you could use Elmer's glue too! You just want something that will dry clear:  Then I poured Epsom salts into a plate and just dabbed the votive into a pile of it:  This is the brand we use (we already have it for soaks in the bath after work outs) and that price (linked) is the best I've found!:  I used my glitter tray and knocked the excess off -- this tray is great because you can save the leftover glitter (or salts!) and put them back on the next item:  Speaking of glitter -- a few shakes of that in the Epsom salts pile would be beautiful too!  They ...