As many of you know, it can take me eons to finish up a room makeover. It's usually because of two things -- we pay cash for everything so I only make updates as the budget allows. And since I try to do most of it myself, it just takes longer than it would if I hired out. I don't mind this usually because I think I make better decisions when I take my time.
I'll take even longer if it's a room we don't use often (like our guest room) or one that we use mostly (and guests don't see) so I'm not as concerned about it getting finished up quickly. I've been working on our mudroom for more than three years now -- well, even longer than that if you consider all of our changes -- but I've been making updates for a few years to get it the way I want it.
And it's FINALLY DONE. Whoot! You may have seen the most dramatic changes I shared last fall, but I wasn't calling it done till we got the storage shelf built and finished up. Now it's finished and because this room looks so different from where we started, I'm sharing a bunch of before and after pics. (My favorite!)
This is one of the biggest transformations in our house, but probably one of the simplest in terms of what we did to change it up. When we built our house the laundry room and mud room were combined. And I hated it from day one because no matter what we did, it looked like this every day:
You can't tell from that pic, but I had already made some changes to the room. I painted it yellow with black accents way back in the day, and then installed inexpensive vinyl floor tiles.
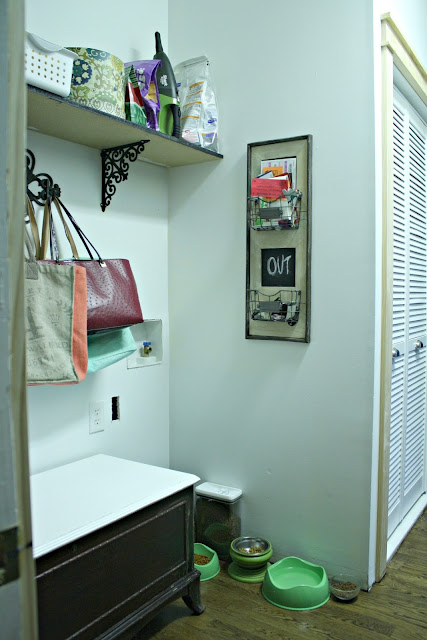
What you CAN tell is that the room was a disaster. ALWAYS. It drove us both crazy. There was no closed storage, there wasn't enough room and washer and dryer became our dumping ground for everything.
Thankfully, when we finished our basement we added a laundry room. When people ask me if we mind it in the basement I cannot help but express my JOY. ;) We actually quite like it down there (upstairs would be awesome, but we were working with what we had) and I love love LOVE that it's out of this room now.
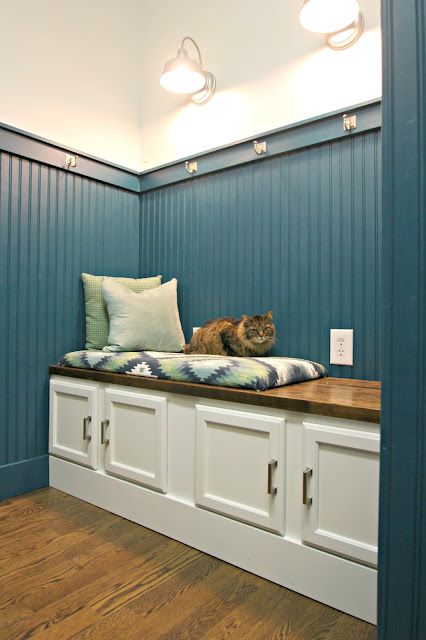
Later on I made some additional updates like adding more beadboard around the room where the washer and dryer were, we had some sconces added, and I built the DIY mud room bench:
Oh my, I miss that fluffy cat every single day. :)
I was trying to do something different than my normal style with that peacock blue trim and walls, but I grew tired of it. Although I still LOVE that color, it just wasn't our style and didn't mesh with the rest of the house.
Last year I took on the huge job of painting all the trim and the walls. It made a HUGE difference:
There were only two things left that I wanted to tackle -- storage above the bench and crown molding. Last fall we got help with the simple cubby build and then I painted that and the crown molding.
I looked for weeks to find the right storage baskets for the shelf and ended up with these cubbies from Target instead:
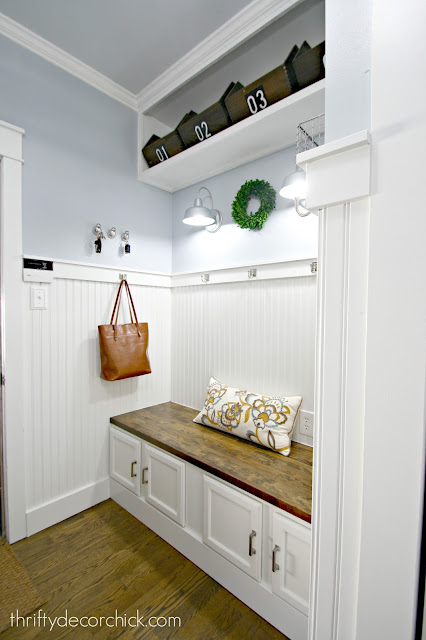
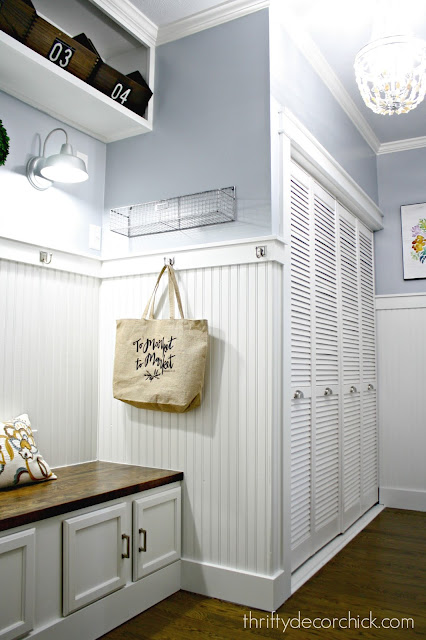
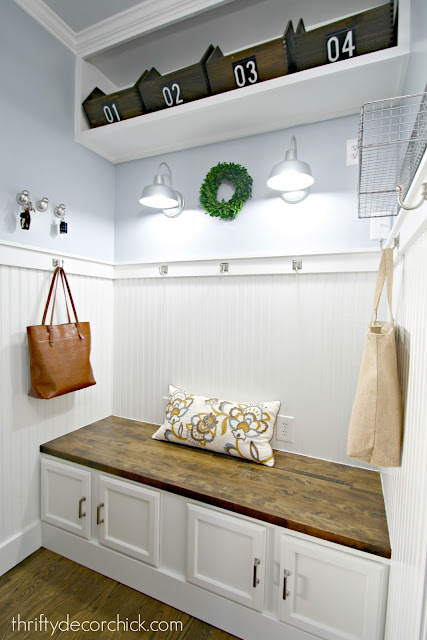
I ended up staining them and adding metal house numbers I found at Home Depot to the front. NOW the room is done!:
I wish I would have gone a little lighter with my stain on the cubbies -- it's the same color as the bench but that soft wood soaked it up! I just love them though -- they are easier to access than baskets and I love how they look! We use a small stool to get to them and as I mentioned, they hold items we don't need to access very often.
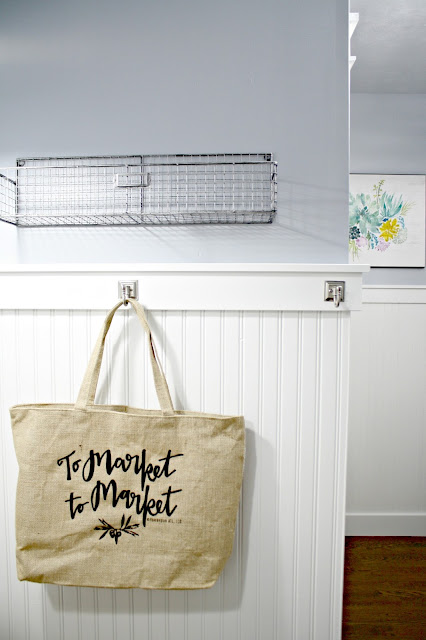
I've kept the decor in this room really simple -- and the storage is simple as well. The bench holds our shoes, there's a metal basket on the wall that holds items we need to take out to the car and the cubbies above hold off season items and extras. It's a perfect spot for random stuff in our house! I'll list all the items and the paint colors at the bottom of the post.
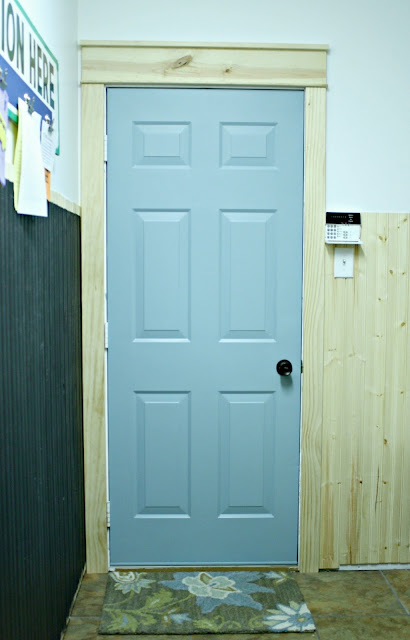
When I started the process of transitioning from the black and yellow to the dark blue and light walls, I added my craftsman/farmhouse trim to the three doorways in the room. I also went light blue with the door, which I didn't love long term:
I switched some lights around in the house and removed the fluorescent light we had in here. This small chandelier used to hang in our closet:
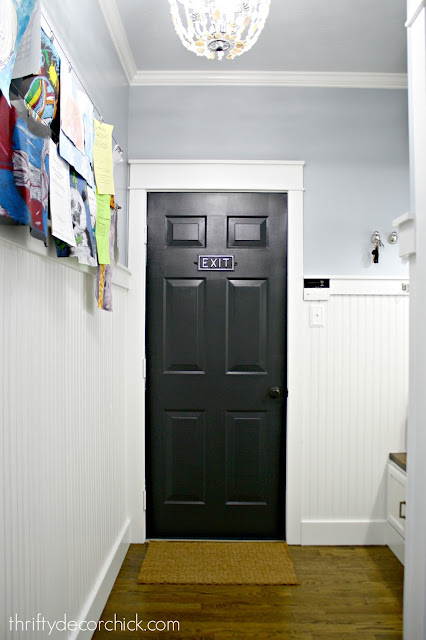
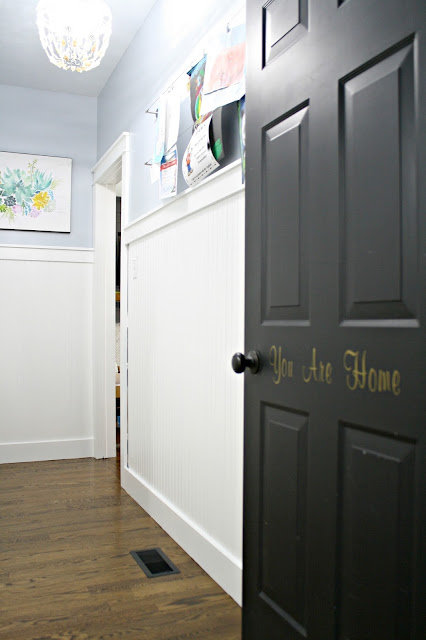
I kept trying to live with the peacock blue, but it just wasn't meshing. We have black doors throughout our house and once this one went black I knew it was the right move:
You can see here that I never moved the washer and dryer to paint the room yellow 😬:
And no one knew till we moved them. ;) This room felt SO MUCH better just with the simple addition of hooks there -- like it was supposed to function this way all along.
I painted the room white and we added a bench for storage for awhile:
And now that same angle looks like this:
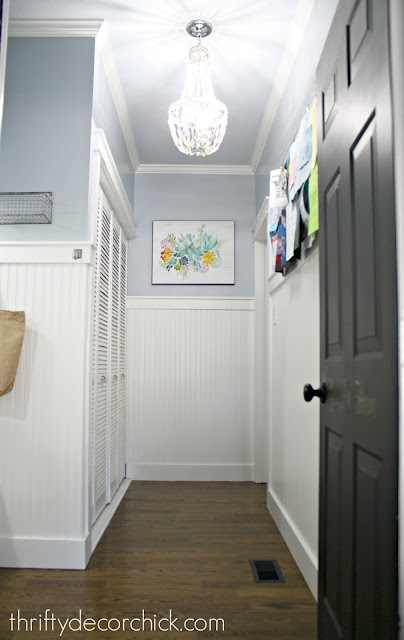
Our mud room is actually fairly large -- but half of it is a long hallway by the utility closet. Years ago I changed out the inexpensive metal folding doors that we used to have:
To some nicer wood ones -- I added the handles to them and it was an easy upgrade. You can see how I changed out the door trim here as well:
When I painted the room last year, I simplified the art wall straight ahead with one pretty piece instead. We have enough going on with the IKEA command center I installed (and still love):
The addition of crown molding made a big difference in here:
I LOVE that I don't even mind that utility closet anymore -- it used to stand out like a sore thumb. I considered spraying them the dark blue color years ago and I'm so glad I didn't!
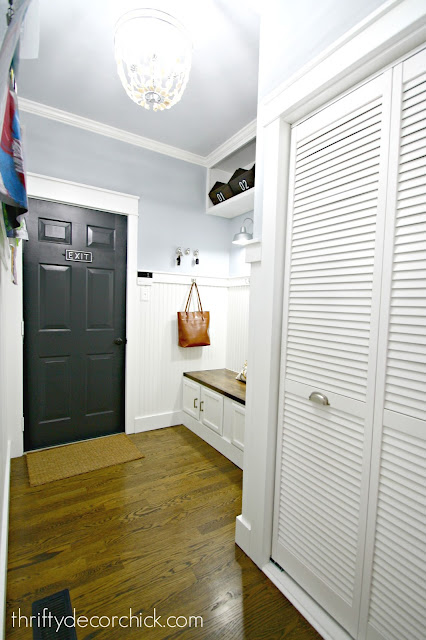
Here are some final looks at this space -- I'm so pleased with it and as always, I did the majority of the projects myself and we only made changes as we could afford them. I'm so glad we waited too -- now it functions perfectly for our needs. We didn't need a TON of storage in here -- hooks for coats, a spot for shoes and storage for odds and ends were all that were needed:
Changing out the light bulbs to daylight bulbs makes a HUGE difference too. This room doesn't get any natural light so the new bulbs make it feel so much brighter.
Here's a list of the items from this room -- some were purchased years ago but I'll add them anyway:
Utility doors: Lowe's
Wood cubbies: Target (Pillowfort line)
Metal numbers: Home Depot
Magnetic bird key holders: Container store (this option (affiliate) is cute too!)
"Exit" sign on door: HomeGoods
Sconces on wall: Lowe's (see more and a link here)
Pillow on bench: HomeGoods
Metal basket on wall: HomeGoods
Hooks on wall: Home Depot
Command center: IKEA
Art: Target
Paint colors: White, Pure White by Sherwin Williams
Walls: Krypton by SW
Door: Graphite by Benjamin Moore, mixed in SW
Let me know if I've forgotten anything!








Comments
Post a Comment