I finally got back into the DIY groove again and it feels great! I usually take a minute (or a month. Two.) and give myself a break over the holiday and new year. But when I'm ready to go back at it...I'm ready!
I wanted to get this project done back before December, but you know how that goes. I was excited to tackle it and yet again was thrilled to work with Minwax on this because I love their products. LOVE! I'm soooo happy with how this came together. It's just like my vision looked in my head.
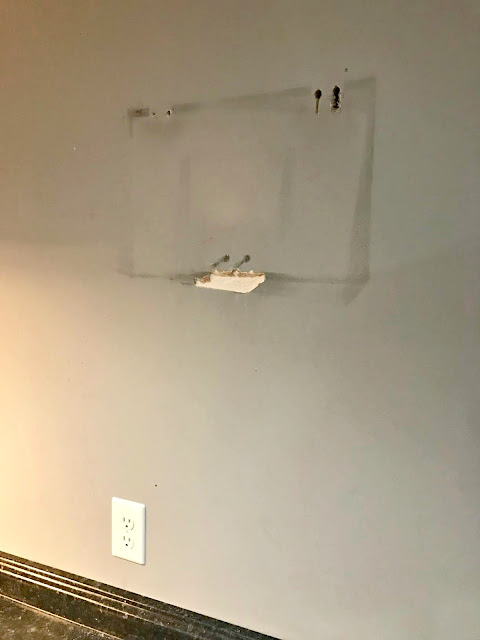
We started with a blank wall where our boy's basketball hoop used to be:
You can see that after years of it hanging there it started to dig into the drywall from numerous dunks. 😉
I showed you how we reconfigured the kitchenette in our basement so this area that used to be open below now has cabinets and a wine fridge.
My first step was to patch those holes. The smaller ones I fixed using this method. The bigger stuff I filled in with putty. Not gonna lie, the final result wasn't perfect because I knew it would be hard to see later anyway. And because I can be crazy impatient.
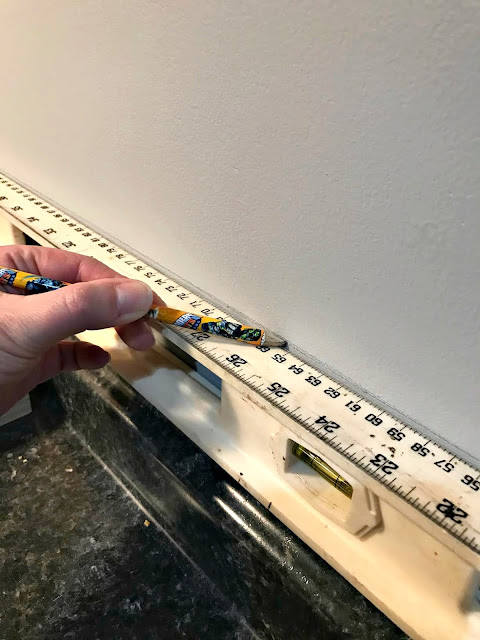
But I got them filled and while I waited on the compound to dry, I started marking off where I wanted my lines on the wall:
You can use a laser level for long straight lines, but for a smaller area I prefer a regular level. Just mark your lines with pencil and then you can tape off using that as a guide.
Our walls are pretty flat so it's not too hard to get a straight line, but I always make sure to push the tape down as much as possible. A flat edge helps a ton:
I started my four coats of chalkboard paint and because I didn't want to run to the hardware store, I improvised with my paint tray:
I do this quite often. :) I grabbed a box that was going to recycling, put a plastic grocery bag over it (make sure any print goes on the opposite side!) and poured my paint in. Works every time.
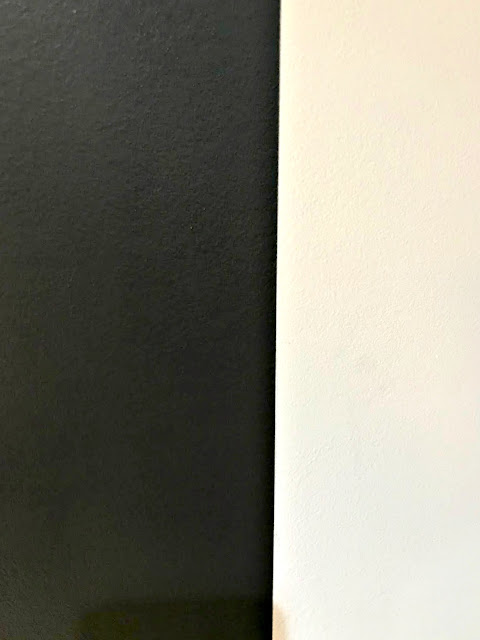
After four coats I was able to peel the tape off -- my favorite part -- and look at those lines!:
Beautiful! ;)
While the paint was drying in between coats I started on the wood shelving. The wood was the only thing I had to buy for this project because I had the rest of the materials. I love cheap projects!
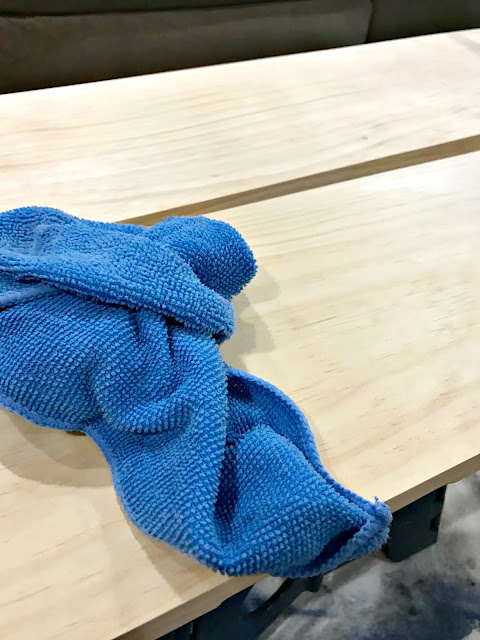
One thing that is helpful when you stain, that I don't think I've told you about, is to open up the wood by wiping it down with a wet rag:
This is called "popping" the grain and it allows the stain to really get into the pores of the wood.
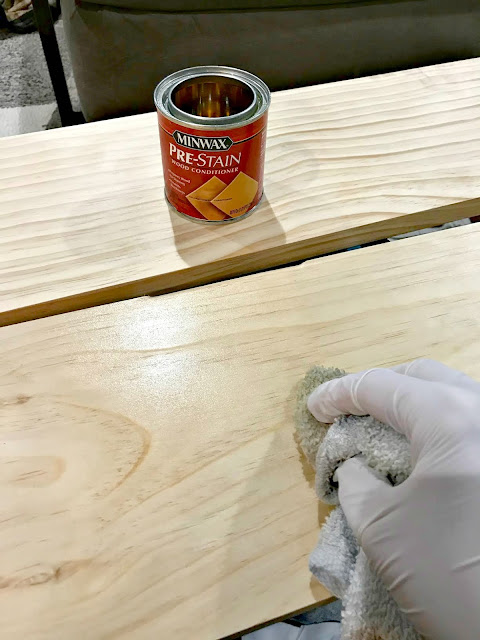
I talk a lot about the Minwax prestain conditioner and how important that is too -- I think it's similar to what water does, but the conditioner also helps to even out the wood before staining too:
You can stain immediately after using the conditioner and it's really easy to apply, so it doesn't take more than a few minutes.
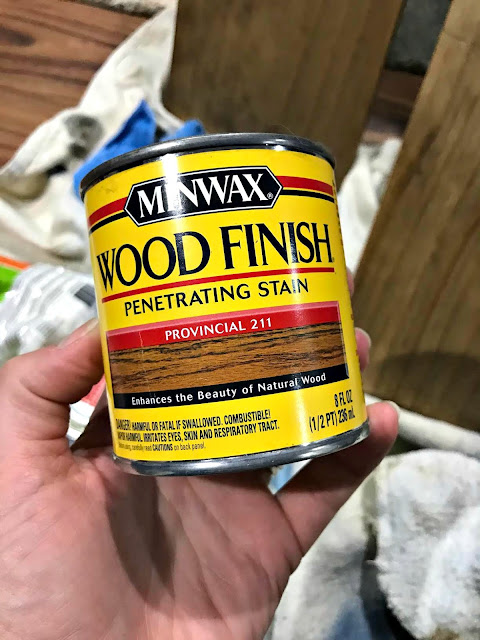
I went with one of my favorite Minwax stains for this project, Provincial:
And with Beauty and the Beast coming out soon, I immediately start singing Belle's song every time I see it. (Cannot wait to see that!)
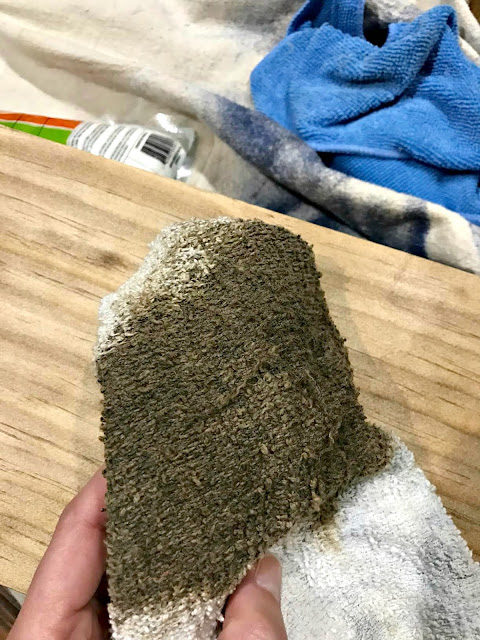
I usually use a foam brush for my conditioner, stain and poly application but we were out and again...I didn't want to go anywhere. I didn't want use a good paint brush so I went with a rag, which is always a good option as well:
If you use a rag I highly recommend wearing gloves!
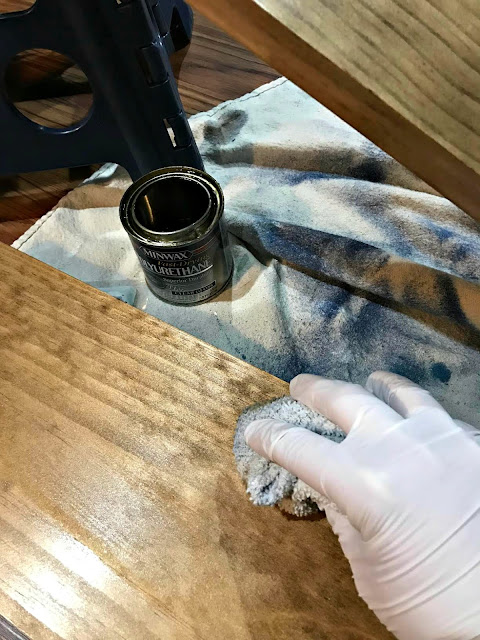
When the stain had dried (I did this project over a few days to allow dry time for the chalkboard paint and stain) I was able to put a coat of polyurethane on:
I love the Minwax fast drying poly because it really does allow you to move on much faster. Again, I applied it with the rag:
I love poly because it really brings out the beauty of the stain.
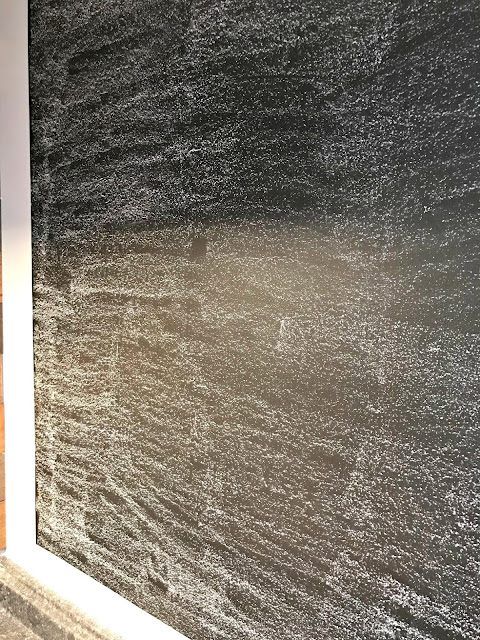
While that dried I seasoned the chalkboard -- I keep hearing you need to do this and I always have with my boards, but I don't really know if it's helpful or not:
You just rub the chalk on there sideways and cover the board. It's supposed to make it easier to erase later but who knows. I do it because it just takes a few minutes and I like that it leaves a slightly cloudy, "used" look to the board.
I hung my shelves with the IKEA Ekby Bjarnum brackets that I had from years ago:
If you use these brackets -- attach them to the ends of your wood first...then hang. Last time I hung one bracket and then put the wood inside and hung the other. WAY more work that way. This time I just put the shelf up against the wall, made sure it was level and then marked my holes for anchors. So much faster!!
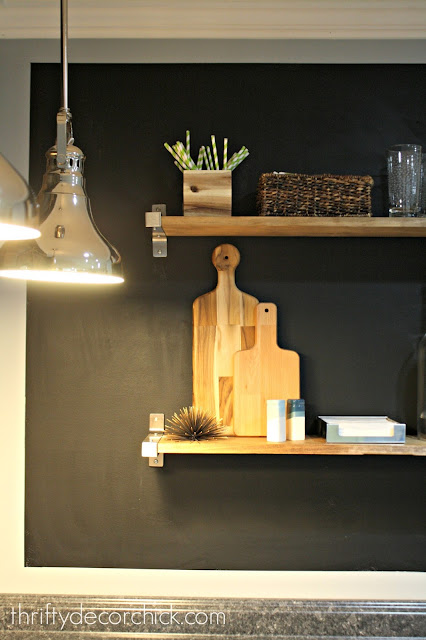
I grabbed stuff that we've had in a tray on the counter and started styling. I only purchased the little wood box and a small cutting board -- the rest we had and that's always nice!:
We USE most everything on the shelves that that's a bonus too. ;)
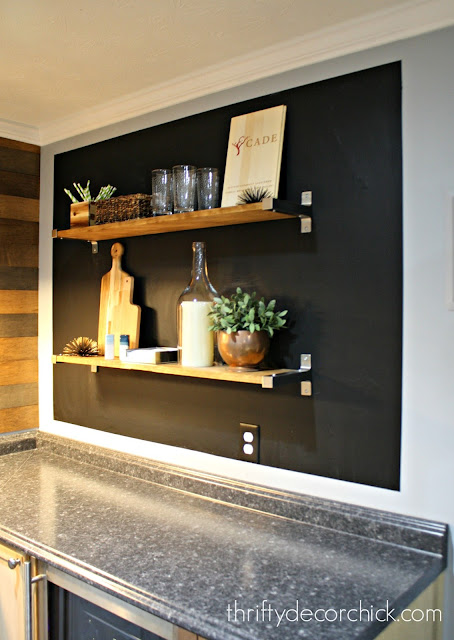
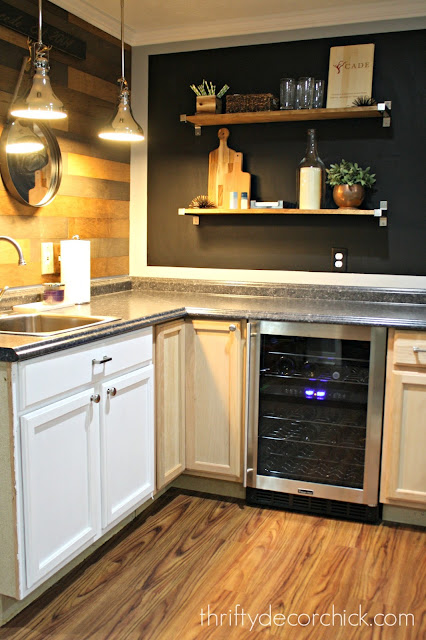
I LOVE how the shelves look against the dark wall!!:
I told you here how I think every room needs some black in it and every time I use it I'm reminded of that. I just love the contrast.
I never wanted to put upper cabinets on these walls because we just don't need that much storage down here. And in our basement with eight foot ceilings I wanted to keep everything as open as possible. It took me awhile to figure out what I wanted to do with this wall because I didn't want to compete (or duplicate) the wood wall I did last year next to it:
I shared this photo years ago from Magnolia Homes and it was my inspiration for this project:
I haven't added anything on the chalkboard yet but we will. I think it will be a fun spot to play around with for parties and holidays. :)
Next I need to trim out and paint the rest of the cabinets. It shouldn't be TOO bad -- there's really only a few small cabinet doors and then two sides.
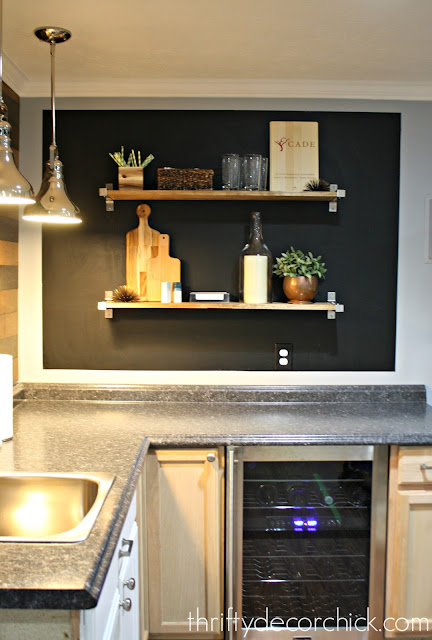
We have a toaster oven and microwave to put out here too, but I'm loving the counters so clean!:
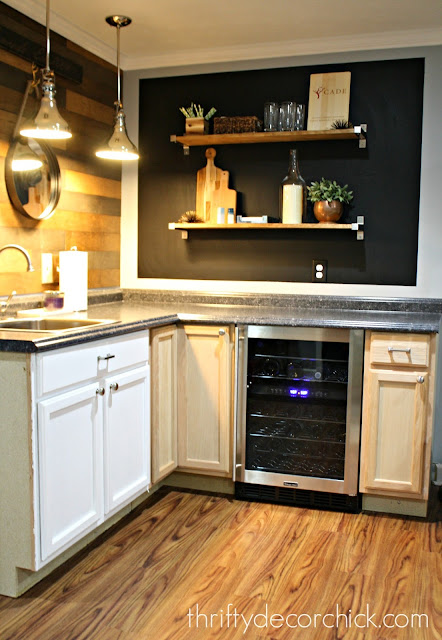
Here's a better view of the whole thing as it is now. I want to start painting this week and get this whole thing wrapped up!:
If you have any questions about anything I used, please let me know! This was a simple project that really didn't take long -- the dry time is what you have to wait on. :)
Here are some more projects from this spot over the years if you'd like to check them out:
Wood planked wall (for cheap!)









Comments
Post a Comment