Hey all, I hope you had a great weekend! I didn't mean to be away on Friday but we ended up heading out and spending a fun fall day exploring around our pretty state. Indiana in October is just stunning!
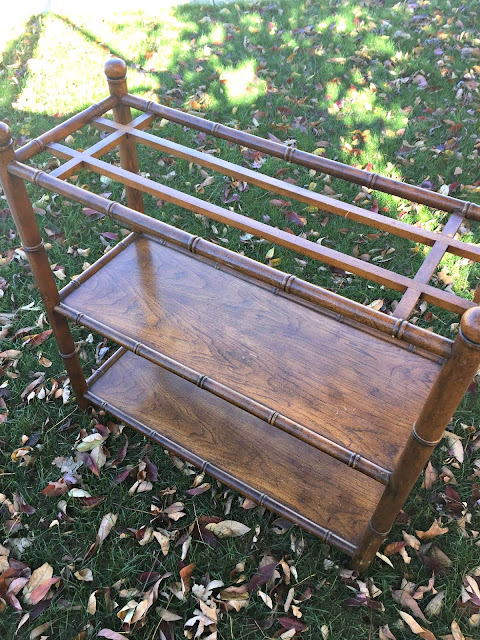
I finished up a quick DIY over the weekend that I'm just tickled about. It turned out even better than I had hoped. I found this small, skinny table at our local Habitat Restore a week or so ago:
I've had a spot in mind for a bar cart in our dining room-turned-library for about a year now. I've almost bought one in various stores many times now, but none of them felt just right. Most were too industrial or way too fancy for what I wanted.
I found one a couple weeks ago and loved it, but didn't know if it would work in the spot. I went home, measured, couldn't stop thinking about it and crossed my fingers that it would still be there a couple days later. Thankfully it was and I took it home for $15!
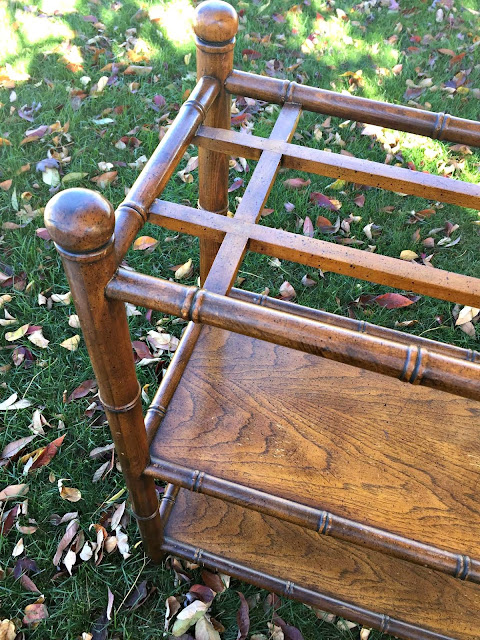
I'm assuming there was a glass top on it at some point but I had a different idea in mind. The finish was that speckly faux wood look that I don't care for:
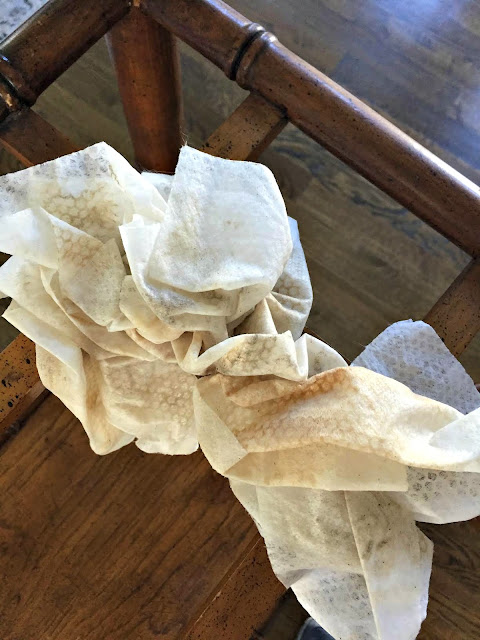
The wood wasn't in great shape in some spots so between that and the finish I knew I was going to paint it. My go-to is usually black, gray or blue -- this area has plenty of blue and gray so I knew I wanted black. I thought it would look great but it looks SO great. :)Before you spray paint anything you need to clean it really well. If you leave any residue on there at all the spray paint will not cover it:
It was filthy! I wiped down every little crevice. If you have stubborn sticky spots (not unusual on older furniture) you'll want to sand those down a bit and then wipe again.
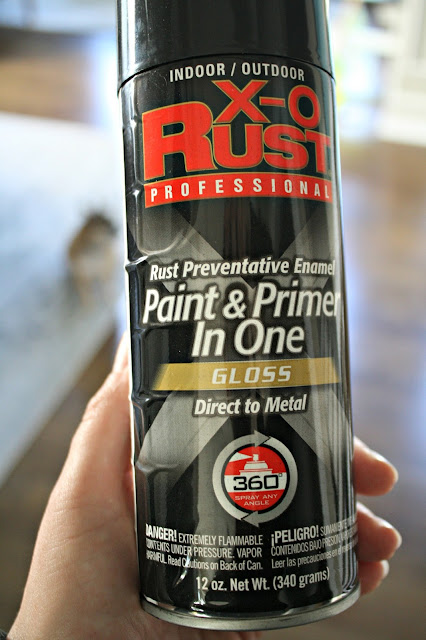
I'm taking advantage of every single spray paint day we have left this year! :) I took the table outside and started the process of spraying. I used this stuff just because we had it and I didn't want to go to the store:
It's great for metal but can be used on wood too. I was happy it was a primer and paint in one. Normally I would have sprayed some kind of primer on the table before the black.
Later on I went to the hardware store and had a piece of wood cut down to fit the top and then picked up a wine glass rack from Pier 1. (This one is similar to mine.) I used some scrap wood underneath to build up the wood because it wasn't thick enough for screws to be installed from underneath:
You can't see the scrap wood when you look at the table but I went ahead and sprayed that underside black as well just in case.
I secured the top to the table with my nail gun and then hung a few of our wine glasses. Then I added some of our favorite barware that has been hidden away in cabinets:
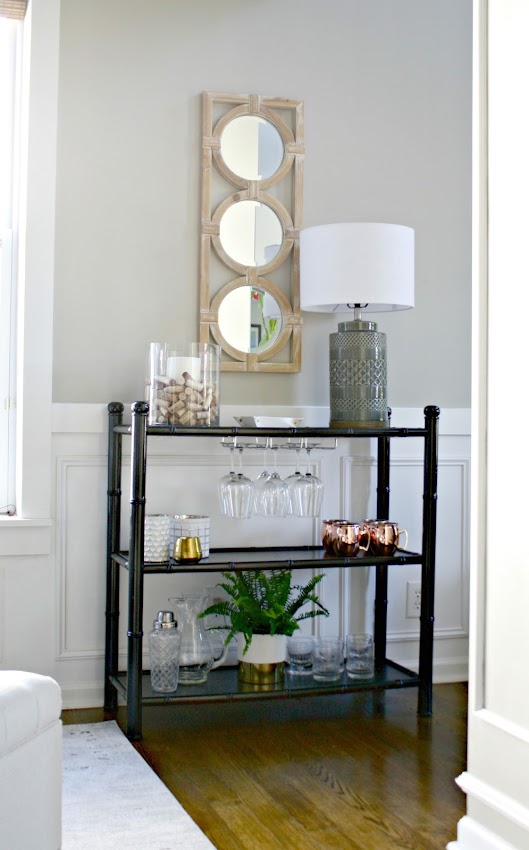
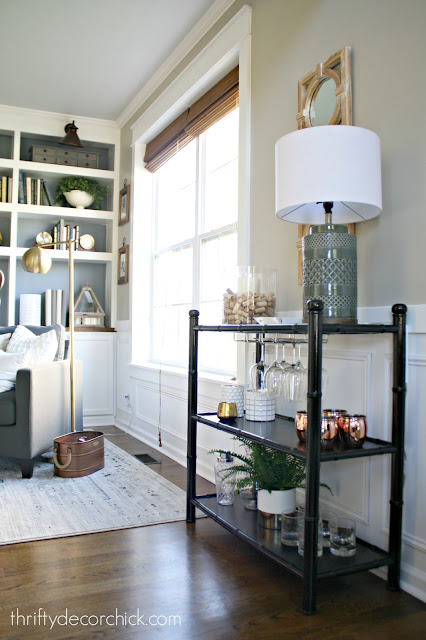
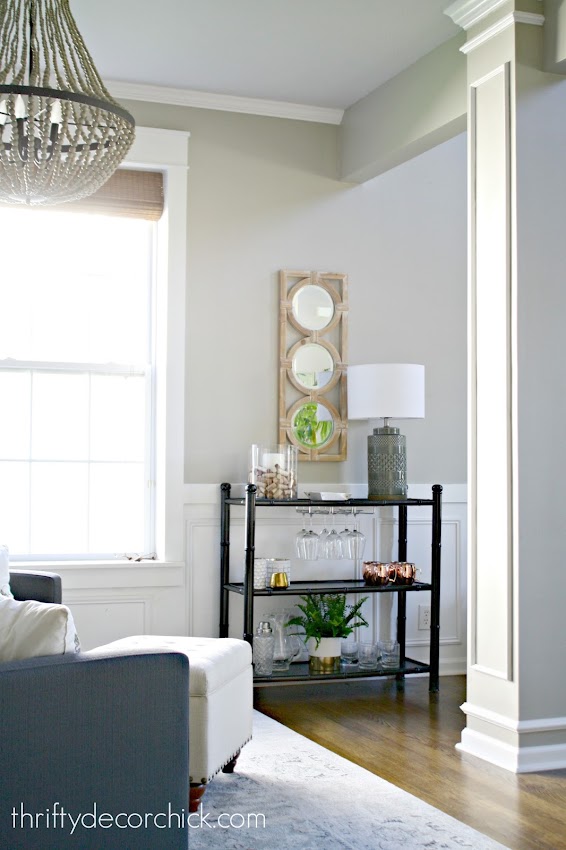
We LOVE it! I'm sure I'll change things up a bit eventually but I'm so happy with it!:
It's perfect in this spot -- we needed something there but I didn't want it to feel too heavy.
NOW I just have to keep the Nerf bullets away!:
Someday I'd love to find some wheels that fit over the legs -- I think that would finish it off perfectly!
I love the design. The bamboo look is a classic. :) I spent less than $30 to redo the table -- $15 for the table and about $12 for the wood:
It's been awhile since I've made over a thrift find -- we just don't need a lot of new furniture and I love pretty much everything we have. This one took some patience to find but it's just exactly what I wanted for this spot!
Have you shopped the Habitat Restore Store? I love checking it out every few months -- you can usually find great pieces of furniture and they always have cool lighting. Our location even had some beautiful tile and flooring that would be perfect for a smaller space!
Affiliate link included for your convenience!
Check out some of my other spray paint projects below!



Comments
Post a Comment