Hello there! I hope you had a lovely weekend! We spent the day yesterday at IKEA and Kings Island -- a little something for me, a little for our son, a fun day for all. :) I've been eyeing an item at IKEA for about a year now and I went head and purchased a couple for a future renovation. I don't usually buy that far out but I'm getting excited about some changes I want to make next year.
I've mentioned that we don't plan on tackling our master bathroom for another couple of years. I know it will be a costly project (even with DIY projects, bathrooms add up) and I want to focus on finishing up another bathroom and other rooms next year.
But for the first time ever, I'm actually inspired to do at least a little something in this space! I don't start a room makeover until I see the vision of what I want it to be in my head. It's a weird thing for me -- I just can't go into it unless I know exactly how I want the end result to look. Just recently I've been finalizing ideas in my head and decided I will most likely go ahead and tackle some of this room next year.
It will be in phases -- the vanity area, toilet room and paint will be first. Those alone will be a huge undertaking. The tile and tub area, ceiling treatment and more lighting, and then shower makeover will happen later on. So it will take a couple of years to finish up the whole room but I'm fine with that. This way we can still use the bathroom during the makeover as well.
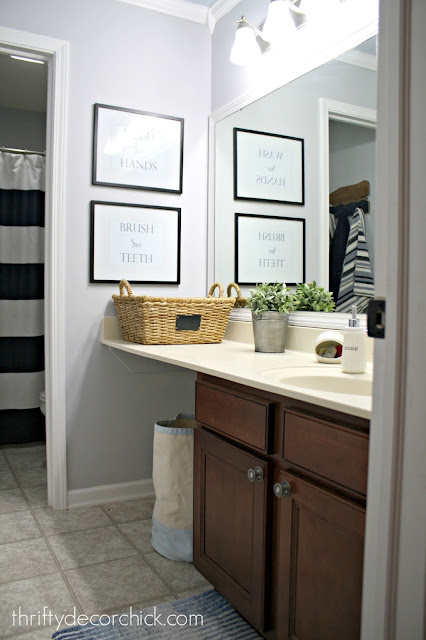
My big project will be our vanity area. I picked out all of the finishes in this room years ago but of course my style has changed since. I've never been in a hurry to do this room because it's certainly nice enough and it's really roomy. It functions well so it's just not been high on the list:
(By the way, the walls aren't THAT green -- the lighting was not great in this pic. The true color is in the photo below.) The only thing that drives me crazy about our bathroom is the height of our vanity. I mean, did we get taller as a population over the past 12 years or what? It's SO very low. I want to raise it up at least five inches, maybe more. I dream of the day I can lean over to brush my teeth and not feel like I'm touching my toes.
As I said before, the finishes are just not me anymore -- I was really into the dark bronze for so long so every light switch, outlet and all of the hardware is my old beloved…oil rubbed bronze. :) Remember when I sprayed everything that color? I was obsessed! I still love some ORB but in smaller doses:
We have tons of storage under the sinks but rarely use it because they are so low and awkward to get to. I may add a skinny storage tower in between the sinks for our everyday items. (I want to get rid of the shelving up there.) My hope is that having the vanity up a little higher will make it easier to access underneath so we won't need any other storage on top.
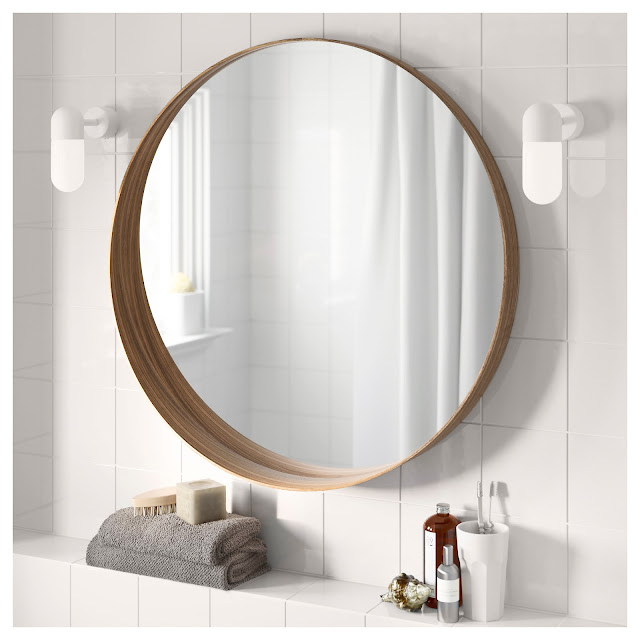
So this beauty is what I picked up yesterday for this area:
It's the Stockholm mirror from IKEA and I ogle it every time I go in. I love the wood trim and the size is quite large -- it may be too large. I got two, one to go over each sink. I have to decide if I want to add sconces by the mirrors or just do smaller lights above -- we only have one light there right now and I'm looking forward to more light for sure.
I do plan on replacing our inexpensive countertops and sinks with something else but not sure what yet. To use these mirrors in our bath we may have to move the plumbing over because the sinks are just a tad too close to the wall for these to work as they are now. Not sure I want to spend the money to do that so these may go in the Bub's bathroom instead -- I told you about my plans for that room here. (I do plan on getting that room done next year.)
I should have taken a photo of the walls in our bathroom so you can get an idea of why I've only painted this room one time. Yikes, they are tall. I honestly can't believe I did it last time since I'm not a big fan of heights. They go up to roof height and we LOVE how open it makes the whole room feel.
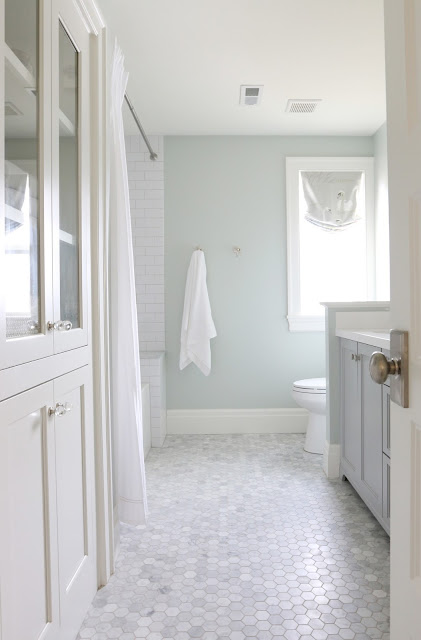
I'm planning something lighter for the walls, and I may go with this Sea Salt color:
Credit: Studio McGee
The vanity will most likely go black. I have yet to paint our interior doors upstairs but they will all go black like the rest of the house. I'm considering a sliding barn door but I think it may be too bulky.
Looky what I found -- a dark vanity with a similar mirror to what I picked!:
Credit: Style Me Pretty
I love when I get validation about the ideas in my head. ;)
Here's a look at a similar wall color (this one goes more blue than Sea Salt) with the black vanity:
Credit: BHG
Earlier this year I made some simple updates to the tub area (during another no-spend month!) and this area will stay the same for now, other than perhaps a new tub faucet and of course the new paint color:
I'm getting really excited about finally updating this space! So much so I'm forcing myself not to pick up a paint brush and get started immediately. Other projects are calling my name first. :)
I hope to share a room update with you later this week -- I'm so thrilled with this little makeover and can't wait to show you!
Have any of you tried Sea Salt? Is it green in person or more blue?
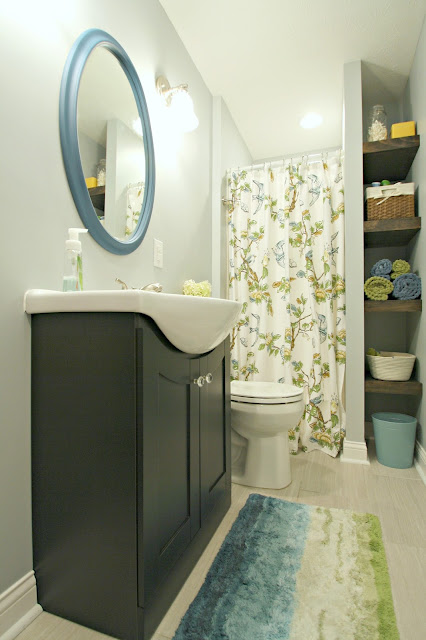
You can see our smaller bathroom makeovers in the basement, powder room and small changes in the Bub's bath that made a big difference here:


Comments
Post a Comment