Hello there! Hope you had a beautiful weekend! Our weather felt like summer may be sticking around for good -- it was perfect! I got so much done outside -- I've been focusing on the inside up till now and it felt good to get out.


I love the combo of the creamy and crunch and sweet and salty. It's a lovely summer dish -- I hope to make it again with fresh picked strawberries soon!
Have you tried this dessert? Any twists on it that are worth trying? It would be a great one to bring to Memorial Day get togethers this weekend! Add some blueberries on top for a patriotic look. :)


We hung with friends this weekend for a going away party and I made one of my favorite desserts EVER. I'm not a big cook so when I share something here you know it's going to be good and easy. This is so yummy! It's a perfect combination of sweet and salty, my favorite.
A friend of mine used to make this every time we got together and it got to the point where I would request it. I finally started making it myself with this recipe. There are a few things to clarify and I'll mention those here.
Here's what you'll need to make this Strawberry Pretzel Dessert:
- 2 cups crushed pretzels (make sure this is two cups after you've crushed them -- I actually use a little more)
- 3/4 cup butter, melted
- 3 tablespoons sugar
- 1 (8 ounce) package softened cream cheese
- 1 cup sugar
- 1 (8 ounce) Cool Whip
- 2 (3 ounce) packages of strawberry gelatin
- 2 (10 ounce) packages frozen strawberries (I use one 14 ounce package and it's fine)
- 9x13 pan
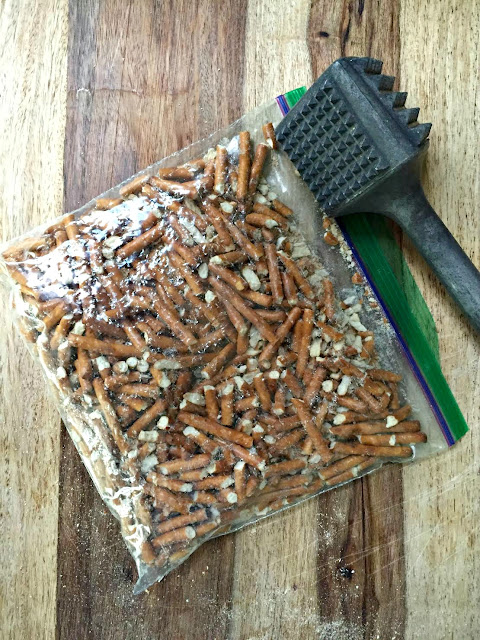
To make the "crust" take your pretzels and smash them -- I put them in a baggie and pound them:

Then mix the pretzels, melted butter and three tablespoons sugar:

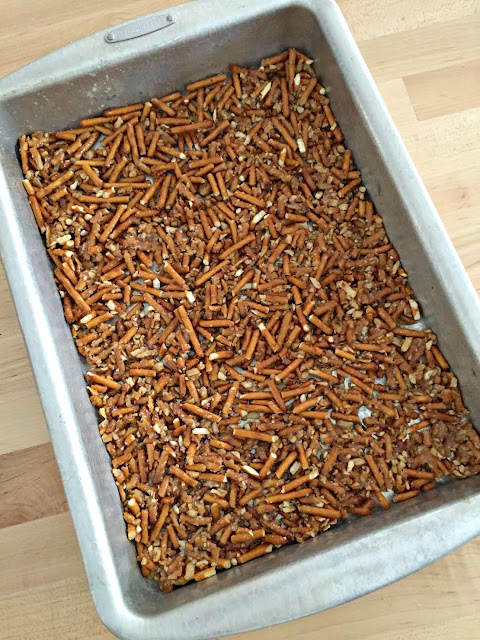
Spread them into the bottom of a 9 by 13 pan till covered. (This is the pan I use -- there's also a cover that makes it really easy to transport.)
Bake at 400 degrees for eight to ten minute and then set aside to cool:

You'll want this to cool before adding the next layer so I wait until this is out of the oven before continuing.
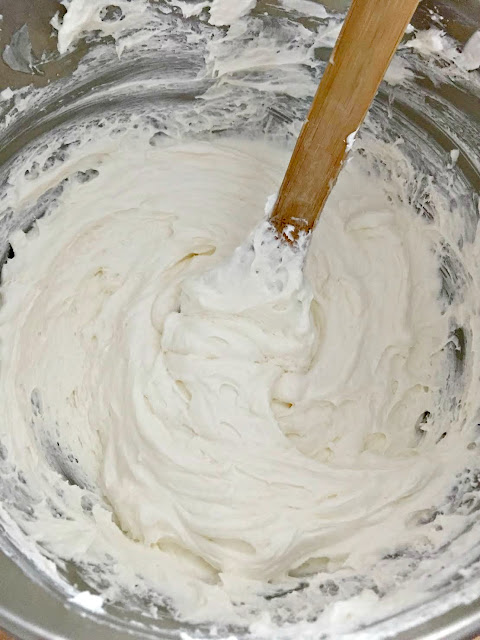
Mix softened cream cheese and 1 cup sugar:

Make sure your cream cheese is softened (place in microwave for 10 second increments) to ensure you don't have chunks.
Fold in the container of Cool Whip:

Try with all your might not to eat it right then. :) Little fact about me -- I could (do) eat Cool Whip with a spoon. Delish.
Spread this mixture onto the pretzels:

Important tip -- make sure to spread the cream cheese mixture to the edges and don't leave any holes. This will keep your pretzels nice and crunchy.
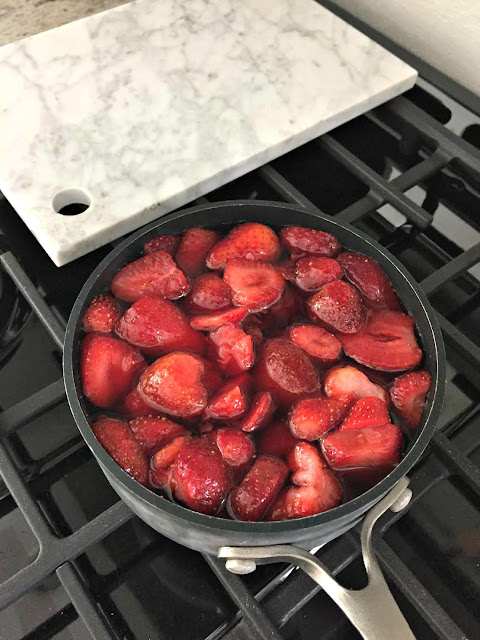
Next is the gelatin -- prepare in two cups of boiling water (according to the box instructions, just leave out the cold water at the end). Then add the package of frozen berries:

You'll want this to set up for a bit -- the recipe calls for it to be a egg white consistency. I just put it in the fridge for five to seven minutes and stir. You'll know when the gelatin is starting to set up.
Spread over the cream cheese mixture. Let set up even more -- even an hour is fine.
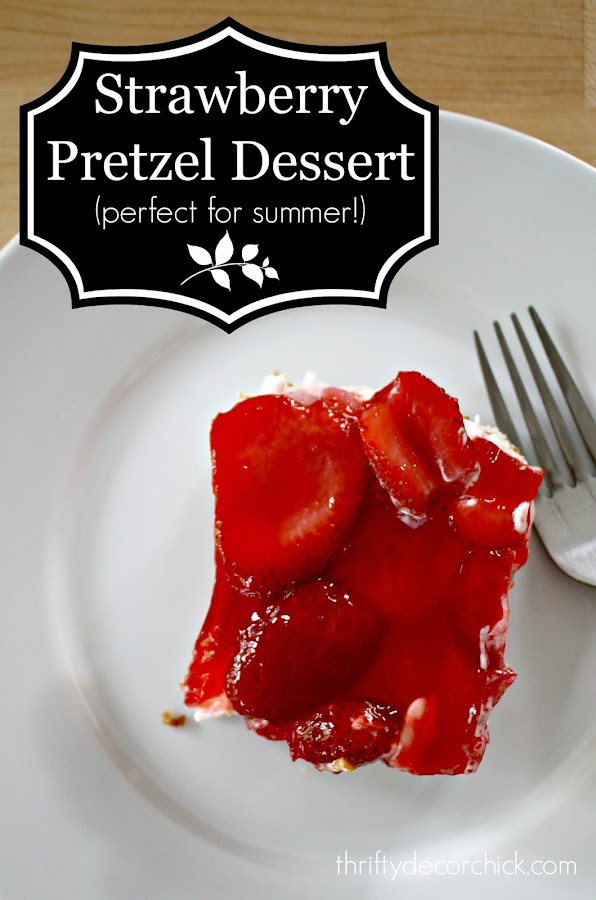
I'm telling you -- this is SO good. I warn you though, it's addicting. You'll have one piece and then need more:

Have you tried this dessert? Any twists on it that are worth trying? It would be a great one to bring to Memorial Day get togethers this weekend! Add some blueberries on top for a patriotic look. :)

Check out some of my other favorite recipes!


Affiliate links may be included for your convenience!

Comments
Post a Comment