Hey all! Long time no see! How has your week been? We had a great trip down to Florida and arrived back home to find our humidifier had been leaking into the basement the whole time we were gone. GREAT times. This isn't the first time it's happened, so we're replacing the humidifier and have to replace some of the wall and ceiling in the basement.
It was hard to leave the warm weather and friends in Florida but now I'm so thankful we came home when we did. It could have been so much worse!
I'm back today with my last post with Better Homes and Gardens -- I have LOVED sharing these products with you every other month! If you've been following along with our guest room redo then you know I've used a lot of these products throughout. I'm going for a casual, slightly farmhouse feel in the space and the items I've found over the past year work so well.
Here's a reminder of how this side of the room looked last year after I painted in in it's new color, Softened Green:

This was the only part of the room I wasn't thrilled about -- I knew I wanted to paint that dresser. Thing is, it's a hand-me-down and I've never loved it. I knew I could make it look a ton better but kept hesitating on the big job of painting it…I find that when I hesitate it's because I know I can find something better.
So I waited it out, partly out of laziness and partly because I wanted to see what else I could make work in there. It came to me when I found the new console for the foyer a few months ago. The dresser that had been in the foyer would be SO perfect in this room. It's one of my favorite pieces in our house (I found it on Craigslist years ago) and the black paint and white knobs work so well with the farmhouse feel. I always recommend adding some black to a room -- it grounds the space and adds great contrast.
Next was to accessorize it and that's where I always struggle. I always like the end result but it takes me forever to figure out what works. I found a few BHG pieces that completed the look, starting with a pretty linen-looking drum shade:

I had a Goodwill lamp I've always loved and this linen shade works so well with it. The shade is a gray with a hint of blue so it works perfectly with the blue accents in the room.
I couldn't resist this little guy too:
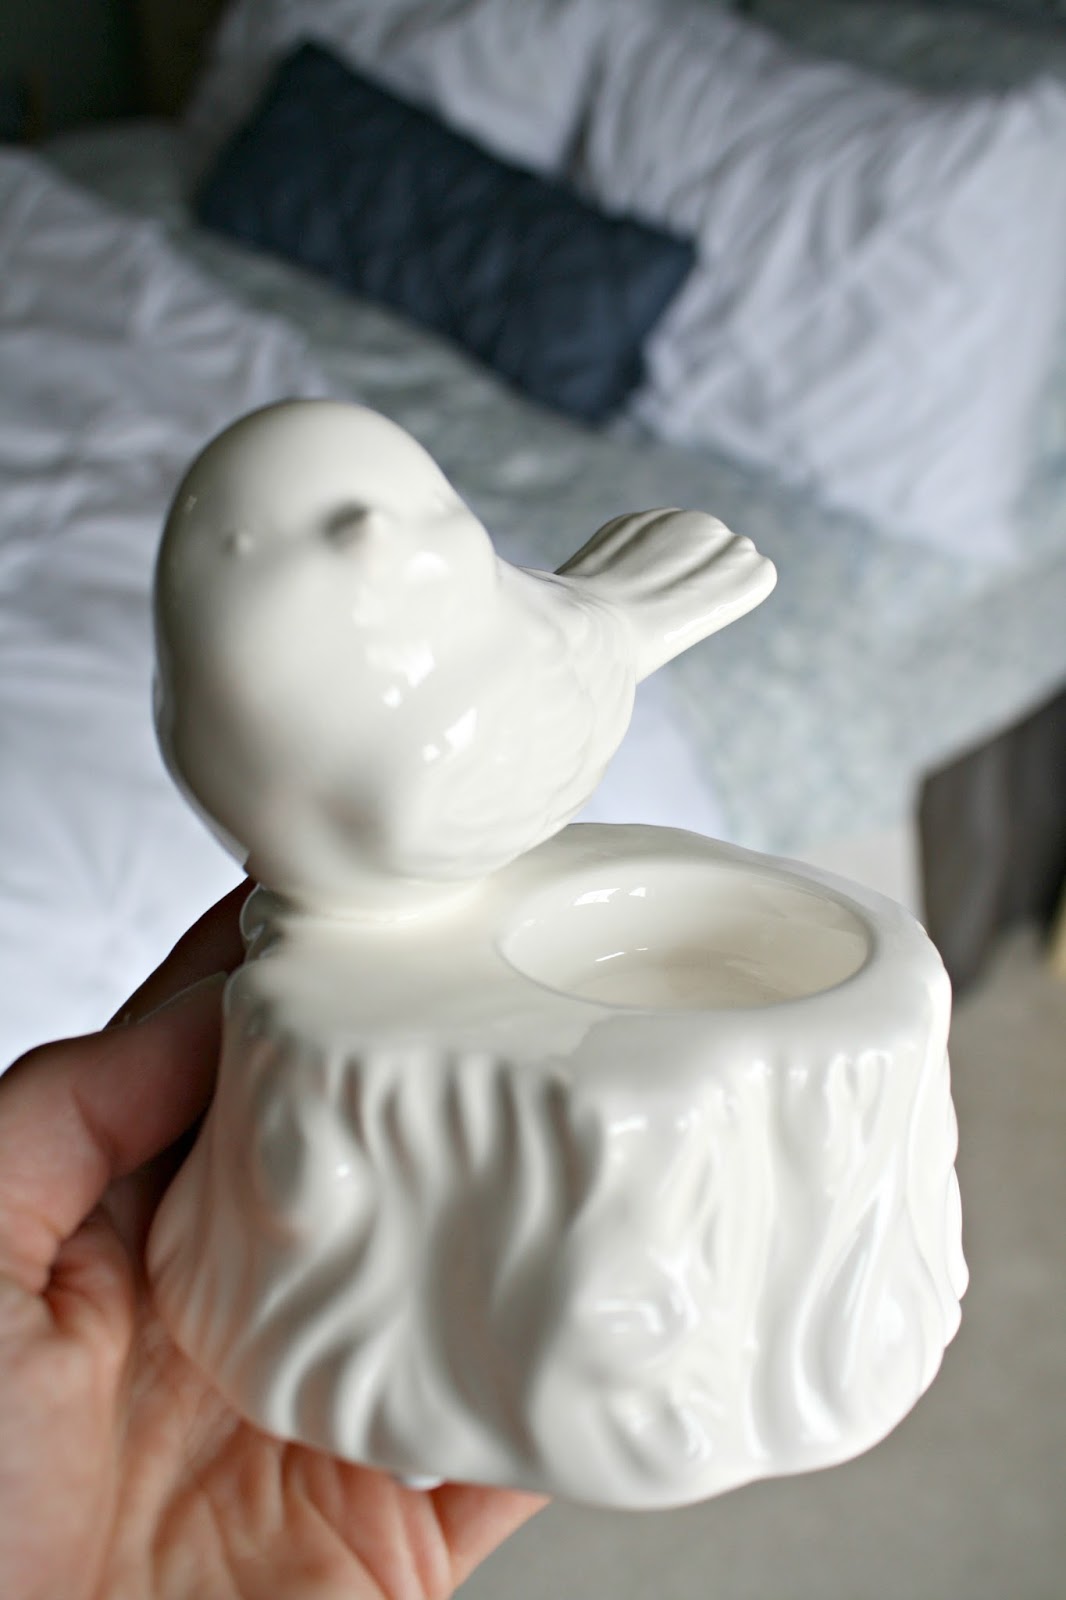
It's a votive holder but I left it empty -- I thought it would work well to hold rings and jewelry for our guests. Isn't he adorable? Perfect for spring and summer too.
I think this frame is supposed to lean more nautical, but the wood pieces remind me of planked walls and what is more farmhouse than that?:

I found the art a couple weeks ago and I just love it -- such a fun piece and the colors are perfect in here. I wanted to keep everything light and fresh and this combo of accessories did just that:

I love that Goodwill lamp -- the lines are so pretty. It's been a cream color for years but I sprayed it bright white to go with the art and the knobs on the dresser.
I've had these candlesticks forever (from GW as well) -- the blue is perfect in the room:

One thing I love about the BHG frames -- if you flip the paper over inside it is an unmarked version of the photo. You can keep it as it is or use your own picture. Such a good idea! I kept this one for now until I decide what will go inside. I don't like to use family photos in a guest room so it will be something different.
This is such a sweet little spot now!:

I just love the colors -- it makes me happy every time I look at it. I hope it's a welcoming spot for our guests. It leans a little feminine but I don't get overly girly with many of our spaces and it just works so well in this room:

Love the small changes, and I spent very little on this spot. Here's a reminder of the before with the old dresser:

And now, with the black dresser and the colorful accessories to brighten up the space:

(That second picture is a much better representation of the green wall color. It seems to have a little gray in it.)
I can't even tell you how much I love this little room. It is so stinking adorable. I love every detail in this space. Just a few more projects to finish up and I'll share this final reveal with you very soon!
Have a wonderful weekend my friends! I'll be back to regular posting next week!

Comments
Post a Comment