It's been awhile since I've gotten down and dirty with a DIY project and I jumped back in big time with this one! It was SO fun! :)
My whole family thinks I'm nuts by the way. Husband came home from a business trip and son came home from school to this happening...they know by now to expect this.
I've talked about the changes I've wanted to make in our son's bathroom for years now. I mentioned in January that THIS was the year we were going to make it happen. My plan was to add a window in the back room first, and then determine if I wanted to take the wall down:
But I knew all along I wanted to take it down...I hate it. Loathe. So yesterday I got a wild hair and did just that. Sometimes I'll sit on a project forever until I just bite the bullet and just jump in. I knew I could make some progress on this room and still have it function, so I went for it.
And man, was it fun! And messy! I loved it. :)
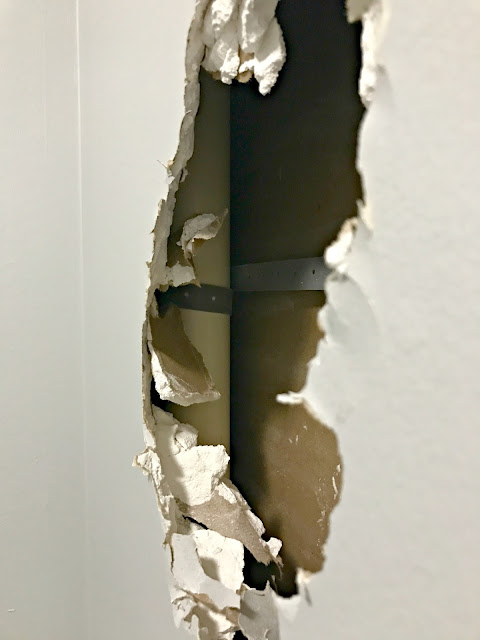
I knew there was some electrical in the wall, but didn't think there would be any plumbing. I was right...kind of. I started on the toilet/tub side of the wall (in case there was no way to take it down and I would have to patch it up) and made a hole...and immediately saw it. DRATS!:
It's a vent to the roof. I'm not sure if it can be pushed back into the wall, but even if so I don't think the expense is worth it. So I immediately figured out a solution, which I'll show you in a bit.
I used a flashlight to look both up and down in the wall to make sure there was nothing else to worry about and kept going.
A professional would be a little more deliberate (clean?) with the way they did this, but I went the easy/messy route. Using a hammer, I pounded through the drywall:
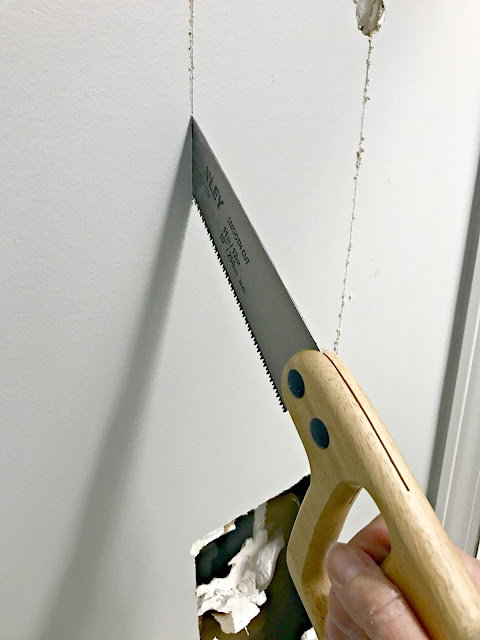
And then I used a saw to cut through it. I did it in sections so it's not the cleanest of jobs, but it will all be fixed later:
There are so many drywall fixes that will have to happen in here, I wasn't worried about perfection. I knew how to take down a wall from when we did this in our family room years back.
Once I saw that light coming into the dark cave in the back I was SO excited:
The more I removed the happier I was. Whoot!:
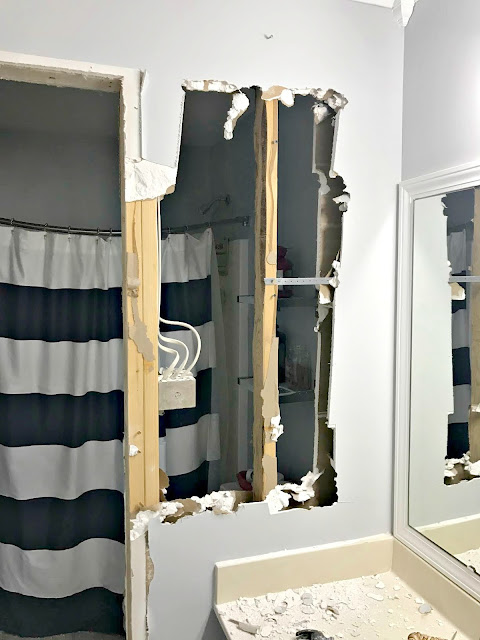
It was about here where I realized something -- I wasn't sure I wanted to take the WHOLE wall out. I was planning on it all this time but I really liked the idea of a small pony wall there. So I used (affiliate link) this reciprocating saw to start cutting through the studs, and I liked the idea more and more:
Ignore the sad droopy shower rod. That's on the list. And yes, I left all of the stuff in the room and it was fine. I wiped off the dust onto the floor and then swept it all up. It was actually a quicker clean up than I thought it would be. The mess was welcomed though -- I was so thrilled!
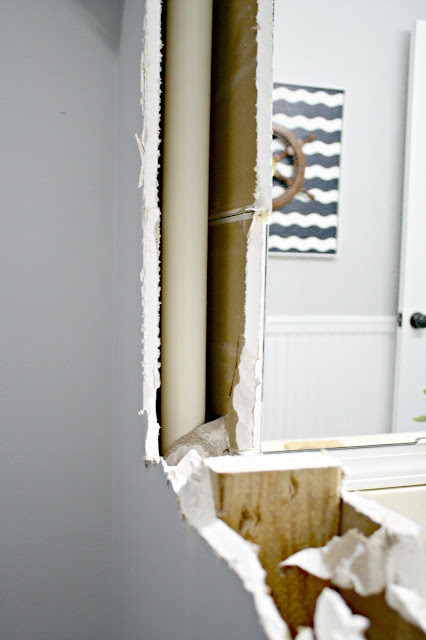
Here's a closer look at the vent...
My plan is to add a stud in front of it and then drywall around it. I may wrap it with stained wood to make it look like a beam -- I'll see when it's drywalled if I want to do that or not. I'm actually not so sad about the vent, because it gives me a good stopping point for the tile behind the mirrors that I plan to add.
The pony wall will be shorter than this (guessing around three inches shorter) and I'm going to pull the studs out at the end and take it back about five inches:
I didn't want any wall there initially but now I don't mind the idea of a short one. It will still offer a bit of privacy, but again, I'm not sure if that's really needed? I mean, you'll just shut the door.
BUT I think because we have to keep that little bit on the right, it makes more sense to have the half wall there. It would look odd to just have that small wall going down the middle of the room by itself.
And I've seen all kinds of great ideas for adding storage in bathroom pony walls too -- I may consider something like that!
It only took me a couple hours to get it to this point! Today I plan to take down the door trim and stud on the left side of the room and I'm excited about that too -- I think that will really complete the open feel. I'll take down the wood on the ceiling too, and I may go ahead and cut down the width of the pony wall so I can be done with this step. Here's a look after I finished cleaning:
GIDDY!!
The opening will be much larger by the time I finish up today. Can't wait!! My arms and wrists are already killing me so I just want to get this part done. The next step will be getting quotes for some electrical and plumbing work. I'll be sure to share the process with you every step of the way!
I had to laugh as I looked back at my inspiration photos I shared years back -- this room is set up nearly the exact same way as how ours will be!:
So weird that this is one I shared! Ours won't have the header at the top, but the bump out on the left and the pony wall are exactly how our room will look. And we're adding a window (longer and thinner than this one) to the top of the shower wall.
I'm so excited to get this moving -- I have NO idea how long it's going to take me but like always I'll be doing it in smaller increments for budget reasons and so we can still use this room along the way. (Although I've told our boy he can't use the back part until we get that electrical back in the wall -- hopefully soon!)


Comments
Post a Comment