Hello there and happy Friday! I'm super excited about this project -- one, because it turned out beautifully. Two, because it's a piece that means a lot to me and I'm thrilled to have given it new life.
I work with Minwax occasionally and share ideas using their products because I LOVE them. This time they asked that I share a do-it-yourself project involving a family heirloom or something significant that holds meaning for our family. Unfortunately I don't have any furniture passed down through our family. All of mine are vintage pieces from other families I found on Craigslist or Goodwill. ;)
So I thought hard about something that means a lot to me in our home and came up with the perfect item…and it desperately needed an update. Five years ago I shared the DIY pottery bench my dad and I made:
 I'm really good at looking at most of the items in our house as just "things" -- with a young child and a cat who is a little cuckoo and goes around knocking items off of shelves willy nilly, you learn to let go. There are certain things that I would be upset at losing though, and this bench is one of them.
My Dad and I had some tumultuous years, to say the least. We were estranged for awhile and around the end of my time at college we started rebuilding our relationship. It is one of the great joys of my life that we have become so close again. I am so incredibly thankful. Dad has seven kids but makes a point to spend one-on-one time with each of us as often as he can, including the five grandkids. The day we made this we spend the whole day together -- writing out our plan, shopping for materials and then building the bench. I have wonderful memories of that day and we still laugh that it went together so easily -- that's rare for both of us! :)
When we built this I spent the extra on cedar and am so glad I did. I had planned on just giving it a natural stain or protective coat and leaving it at that, but time got away from me. I knew the cedar could hold up to the elements so I kept putting it off and putting it off…and this is how it looked years later:


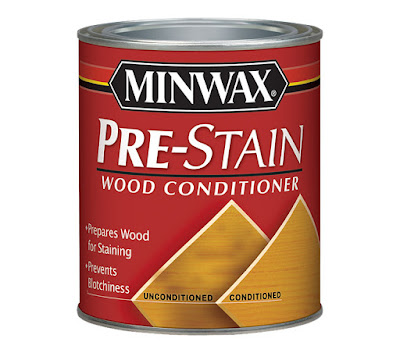
I didn't use this for years and kick myself for that. I LOVE staining so I'm always in too much of a hurry to get to that part, but this is a must my friends. It preps the wood for the stain and evens things out wonderfully. This opens up the wood so it will accept stain better:
 I use a foam brush to apply my stain -- I just think these work best and they're super cheap:

 Follow the instructions for when to apply it -- you want to make sure your stain is dry. I used a brush this time for this application, just because the wood had so much texture to it. I wanted to make sure to get in all the crevices well. Be sure to add more than one coat for the best protection.
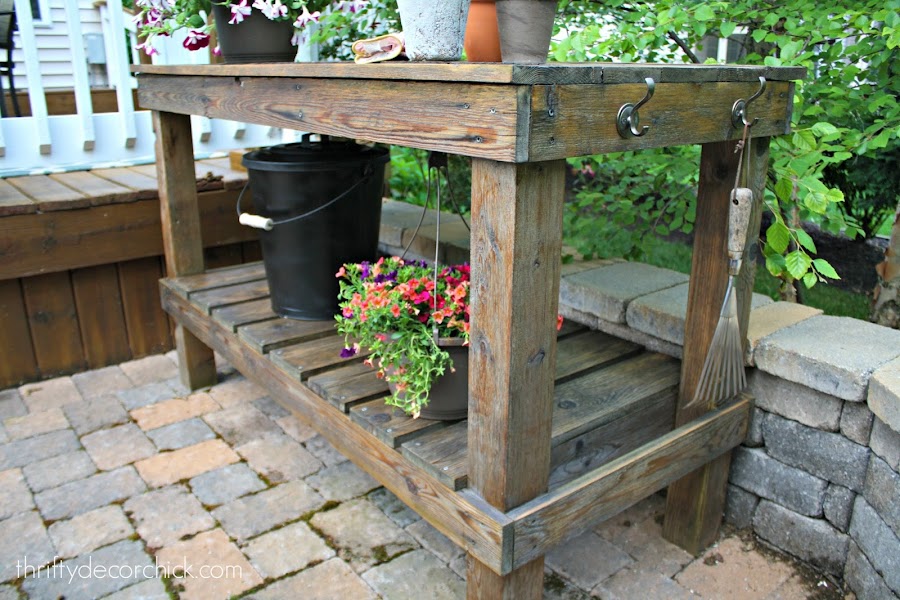
I cannot even tell you how much I love the finished project! I've always enjoyed this bench but it's truly beautiful now. The finish is perfect:

I said it before -- staining is one of my very favorite projects. It's instant gratification. :) I just love seeing the beauty of the wood come through before my eyes.
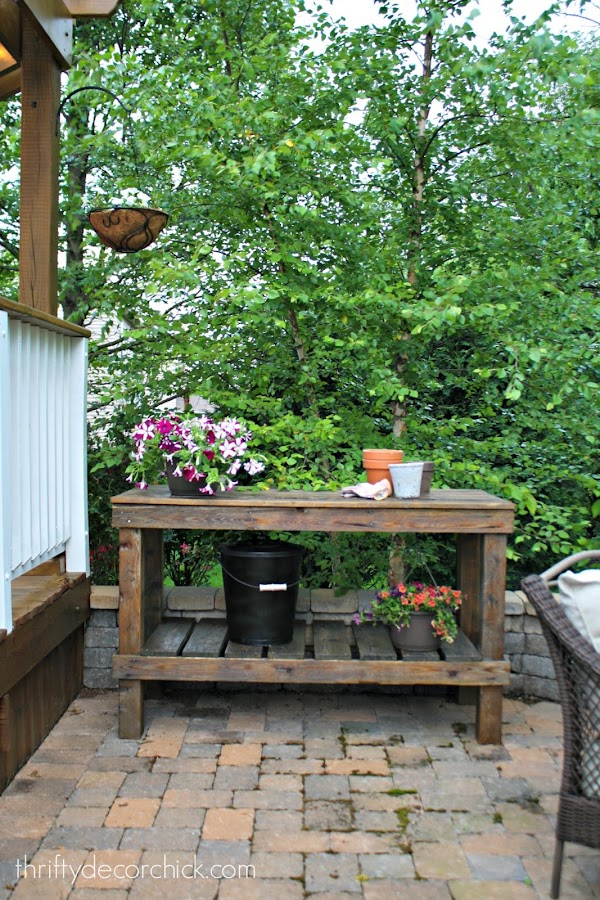
I'm thrilled to have this piece looking pretty and that it's finally protected from the elements:


Look how much our trees have grown in too! Love it.
Thank you again for the kind comments on our pergola this week. The beauty of this space is not lost on us. We feel so incredibly fortunate to have this beautiful backyard. It is truly an oasis.


I work with Minwax occasionally and share ideas using their products because I LOVE them. This time they asked that I share a do-it-yourself project involving a family heirloom or something significant that holds meaning for our family. Unfortunately I don't have any furniture passed down through our family. All of mine are vintage pieces from other families I found on Craigslist or Goodwill. ;)
So I thought hard about something that means a lot to me in our home and came up with the perfect item…and it desperately needed an update. Five years ago I shared the DIY pottery bench my dad and I made:

My Dad and I had some tumultuous years, to say the least. We were estranged for awhile and around the end of my time at college we started rebuilding our relationship. It is one of the great joys of my life that we have become so close again. I am so incredibly thankful. Dad has seven kids but makes a point to spend one-on-one time with each of us as often as he can, including the five grandkids. The day we made this we spend the whole day together -- writing out our plan, shopping for materials and then building the bench. I have wonderful memories of that day and we still laugh that it went together so easily -- that's rare for both of us! :)
When we built this I spent the extra on cedar and am so glad I did. I had planned on just giving it a natural stain or protective coat and leaving it at that, but time got away from me. I knew the cedar could hold up to the elements so I kept putting it off and putting it off…and this is how it looked years later:

OK it wasn't usually a total mess like that. I took that picture to share what a disaster our patio and deck were years ago. :) But the wear got worse -- this was taken two years ago.
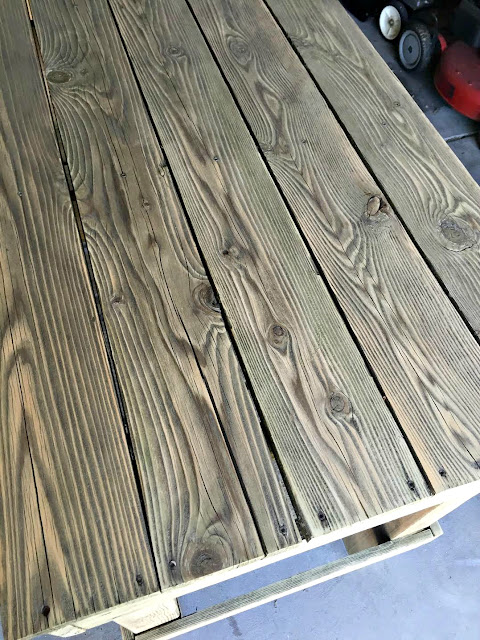
So this week I finally tackled this project. I knew I could get it looking great again, it would just take some work. This is how it looked before I started:

I feel so awful I let it get to this point. Really, I'm mad at myself that I didn't do this sooner. But being outside it was easy to forget about it.
It even had stuff growing on it. ;) It truly became a part of the nature. Yikes:

The funny thing is those hooks have held up amazingly well! Ha!
I started sanding it down with my orbital sander. Be SURE to wear protective gear while doing this -- I wore a mask over my mouth and nose and safety glasses. There will be a lot of dust, even with a nice sander. This is the one I use and I've been really happy with it:

Sanders I've used in the past have left "skipping" marks on my wood and this one does not do that. Love it.
I used 80 grit sanding pads on it to start taking all of that grime off:

I was so excited to see the wood coming back again! I used a LOT of sanding pads for this -- at least ten. I didn't get every little crevice sanded perfectly because it would have take a whole day and my hand was buzzing for an hour afterwards as it was.
Also, I didn't mind a little patina. I really wanted to get the majority off and get it smooth again -- those were my main concerns. The sanded wood was so smooth to the touch, which was nice after it being coarse for so long.
Here's a look at it after I finished the sanding on top:

And the side that I showed you above with the green, now looking much better:

I kept at it, getting as much off as I could. Then it was time for the Pre-Stain Conditioner:


You can see that you get a little peek at how the stain will bring out the wood tones when you use it. You can apply your stain pretty much immediately and it dries pretty fast.
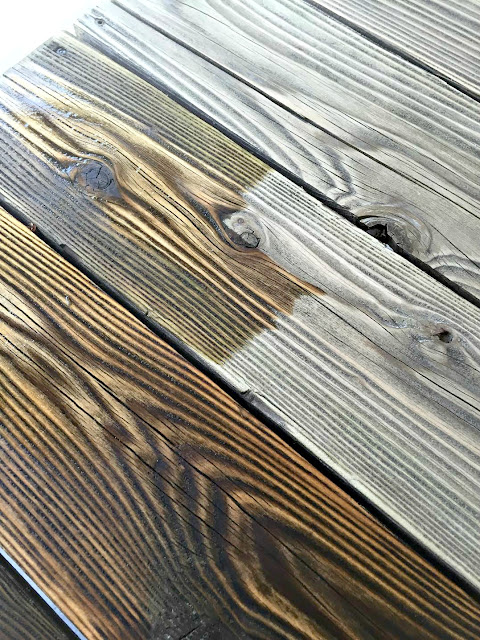
Then it was time for the stain and I picked this Weathered Oak color -- it gives the piece a nice rich look with a slight gray undertone:

Something to consider -- make sure you stir your stain up well! I thought I did but as I got further into the can the color got more gray. I ended up doing another coat on top (I usually just do one) to make sure the whole thing was the same color.
This stain goes on very gray (when mixed well) but when it's brushed in and then wiped down it doesn't look nearly as gray. It's a lovely warm color with a hint of the gray tone.
As you stain there are a few things to remember:
- Keep a "wet edge" -- don't let it dry in the middle of the project or do it halfway. Make sure you have time to tackle each section so you can get it all done at once.
- You don't want it to be soaking wet -- be sure to wipe most of it into the wood.
- Let the stain sit for awhile before wiping -- the longer you wait the deeper it will stain. (I usually only wait a few minutes and it's sufficient every time.) Don't wait too long though, or you'll have a sticky mess.
- Use a clean, line-free cloth to wipe away any excess. If you'd like to add more coats to deepen the stain, use steel wool or a very light sanding between coats.
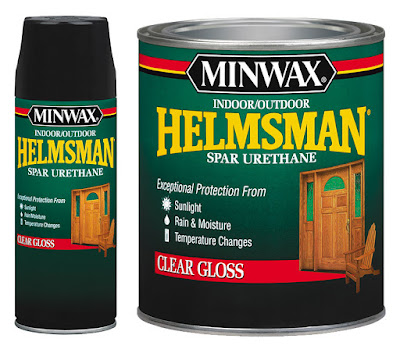
Since this piece stays outside I knew it would need a protective layer after the stain. Minwax has a great outdoor urethane that's perfect for projects like this:

I cannot even tell you how much I love the finished project! I've always enjoyed this bench but it's truly beautiful now. The finish is perfect:

I'm thrilled to have this piece looking pretty and that it's finally protected from the elements:

I love that I didn't sand every bit of the patina off too -- I think it adds some character to the piece.
Here's a view of the side I showed you earlier:
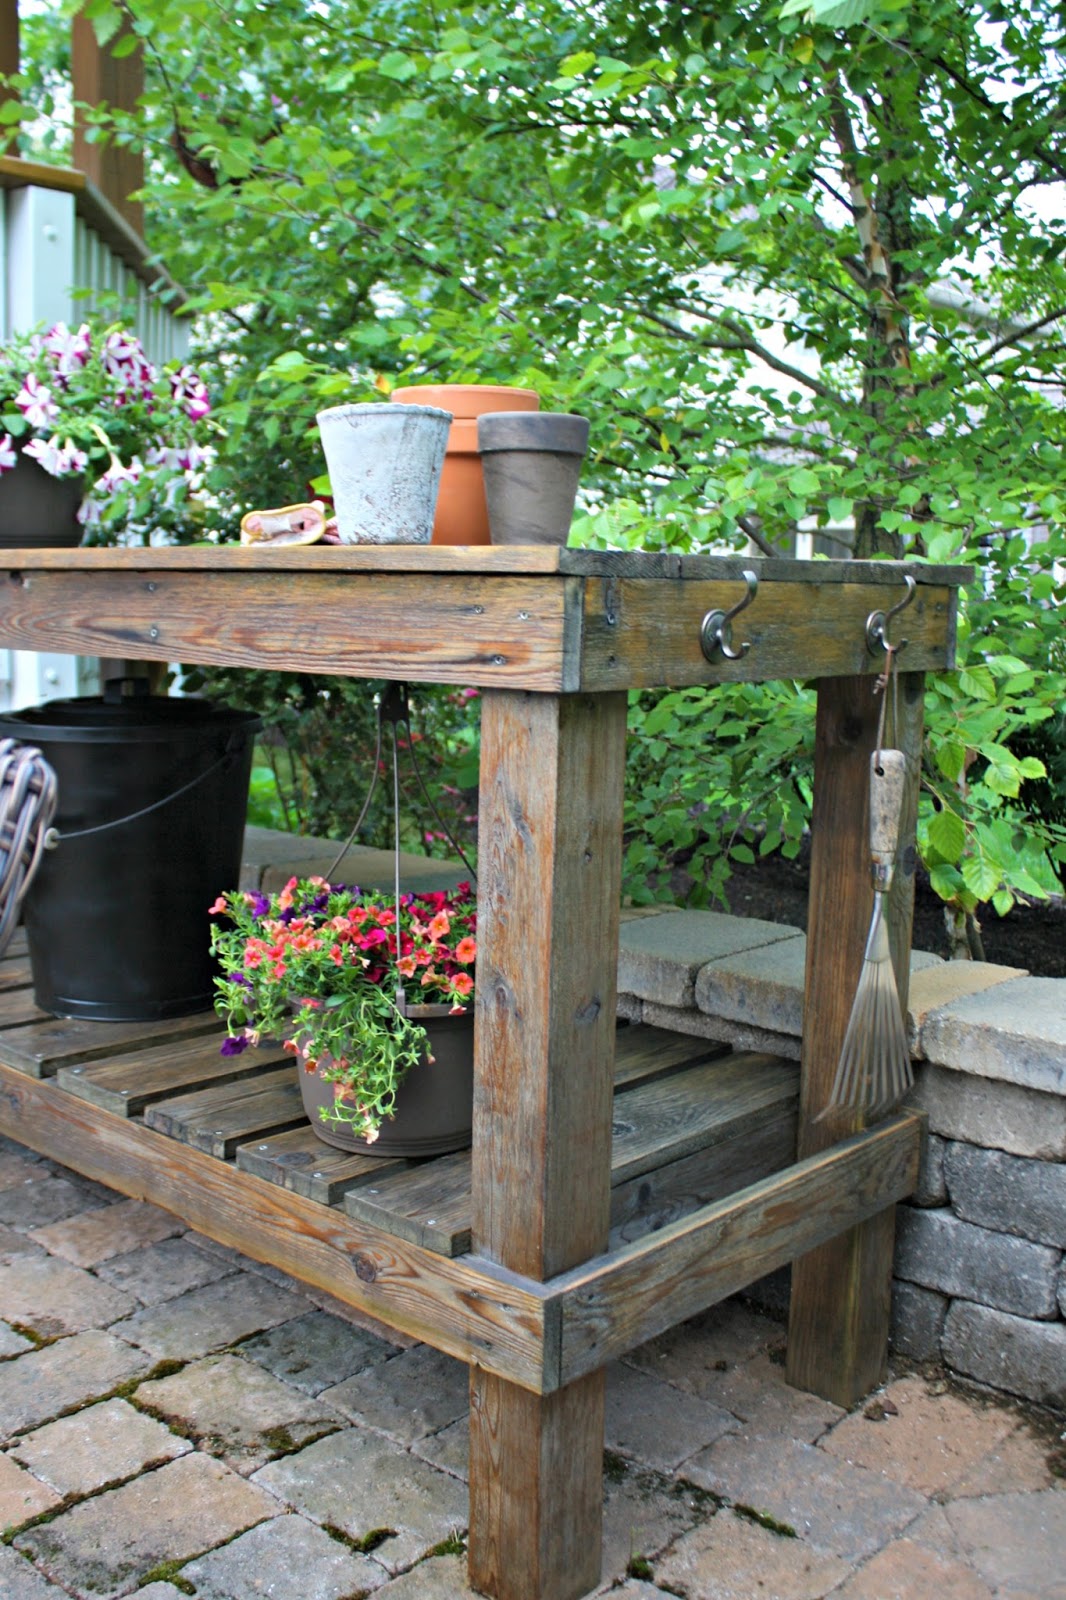
I use this bench all the time for planting, even in the winter. I'll run out here even in the cold to transplant or pot houseplants. That ash bucket holds soil and keeps it nice and dry all year:

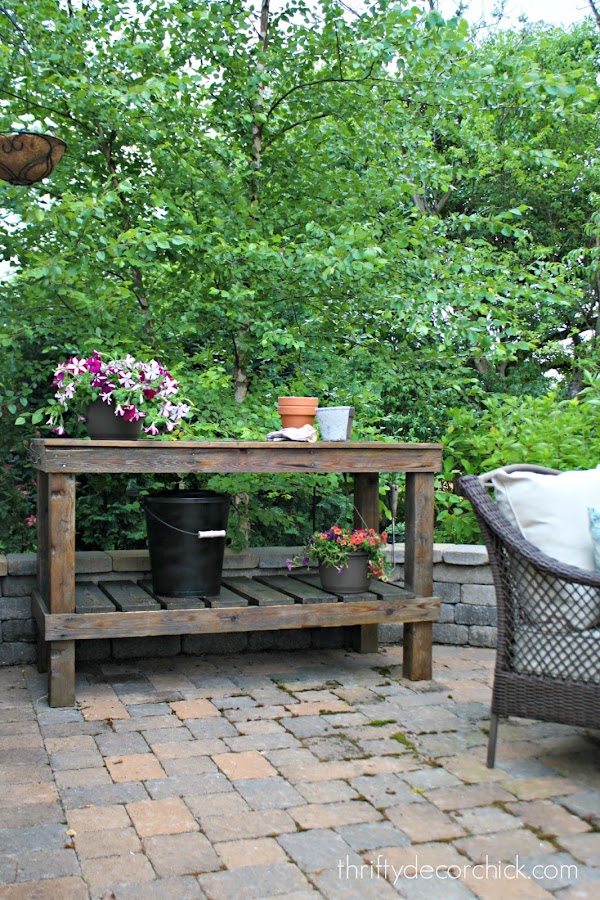
Having this spot is great for a gardening lover like me, but we also use it all the time when entertaining out here. It's fantastic for serving food and drinks as well!:

I am so glad I finally took the time to get this done. I've felt so bad leaving it exposed for so long. Now it's a beautiful addition to our backyard:

I didn't even plan it, but the stain goes so nicely with our newly stained deck I showed you earlier this week.
Here's a reminder of how it started:

Man that's an awful before pic! Ha!
And here's what it looks like today:

Look how much our trees have grown in too! Love it.
Thank you again for the kind comments on our pergola this week. The beauty of this space is not lost on us. We feel so incredibly fortunate to have this beautiful backyard. It is truly an oasis.

Minwax has a whole campaign around revamping pieces that are important to us called Made With Love. I love this! Over the next few months they will be sharing how people have created and renewed future heirlooms. This sweet video is perfect for Father's Day weekend:
If you have any questions about this refinishing process please let me know! I always try to share all the steps but I know there may be more questions if you haven't tried this yourself. And be sure to check out Stacy's lovely project over at Not Just a Housewife as well! Have a great weekend my friends!
I have been compensated for this post by Minwax but all opinions are my own. I only work with products that I use and love.
Check out two of my latest staining projects as well!


Comments
Post a Comment